First steps to building a community with Facebook Groups
I bet you’ve heard lots of times by now that yo need to build a community.
One of the things that leaders like Russell Brunson teaches is that you need a tribe.
Others call it a community or a group of like minded people.
A great place to do that is in Facebook groups.
What do you need to create a Facebook group?
It might seem obvious but let’s talk about the basics.
When you create a Facebook group, you need the following:
1- The group type
2- A group name
3- A group description
4- The cover photo
5- The group rules and questions
6- The content
Pretty basic, right?
So, let’s get into more details on these…
Choosing the Group type
Before doing anything else, you should know what type of group you want to create.
Each type has it’s one benefits and drawbacks.
There are 3 types of groups
1- Public group
2- Private visible group (used to be called simply private)
3- Private hidden group (used to be called secret)
The differences are in the following:
- Whether people can find the group or not
- If they can see the posts or not
- If they can see the group members or not
If you want some control, you probably want the group to be private and if you don’t want anyone to know who’s in the group or even be able to find it, then make it secret.
Making the group public makes sense only if what is posted should be visible to anyone searching for that topic.
Note that hidden/secret groups are good for privacy but you must be friends to invite someone.
I’ve used secret groups before for example why I did a 5 day live video challenge – having the group secret assured the members that no one would ever see their videos and that felt safe to them.
Your group name and description
The group name is super important except maybe if it’s secret although having a good name for a secret group helps members find it and interact.
Click on the settings on the left of the screen in the menu.
And then click the little pencil to edit it.
Finally, you’ll be able to enter the name and description.
Remember that the group name shows up in their notifications, so it’s not just about new people searching for your topic.
Of course, for a group that can be found via search the name needs to match what people are searching for.
For example, I’m doing a group to help others create their webinar using the perfect webinar framework by Russell Brunson, so I named my group Perfect Webinar Master
Your description should clearly indicate what the group is about, obviously.
Your cover photo
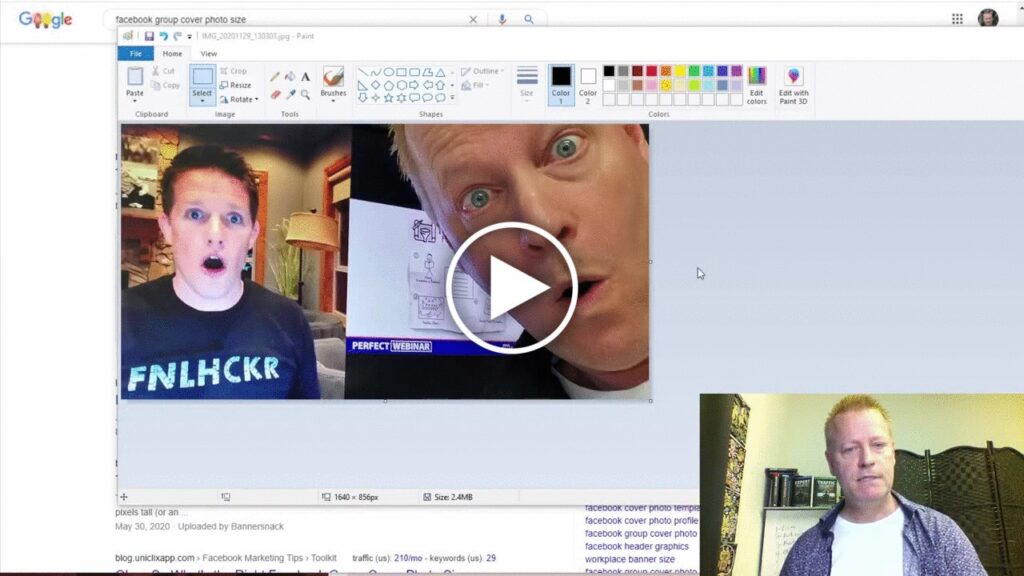
The current size for Facebook Group cover photos is 1640 x 856 pixels.
I’ll have to honest here because I’m not much of an artist when it comes to cover photos in Facebook or other platforms.
However, just like anything I do, I just do it and adjust over time.
I don’t mean that you should change the group cover photo often, I just mean that I’m getting better over time creating cover photos.
In any case, the group cover photo should inspire curiosity, especially if it’s a private group (not hidden) as people looking for it should want to join the group to find out what it’s about.
The group rules and questions
One of the very cool features of Facebook groups is the questions you can ask new members and the rules you can define.
It makes it really easy to manage and for others to see what you’ll allow.
There are a few pre-defined rules you can just choose from or your can create your own.
As for questions, you can ask questions with a simple selection (like yes or no), with multiple selections or a free form answer.
The content
After your group is created, you’ll want to invite people to join and you’ll want to create content that’s relevant to what people expect.
That goes without saying of course.
Like, for me, with my Perfect Webinar Masters group, it should be about becoming a master of the perfect webinar system and learning it.
BTW, you can join that group at https://www.facebook.com/groups/perfectwebinarmaster, I’d love to see you there if you are interested in the topic.
Conclusion
There’s a lot more to configure in a group, such as membership approval, posting approval, group color, etc but you’ll figure that out I’m sure.
For now, you should watch the video to see how to create a group as I go through the creation of my group and record my screen.
Hopefully, this will help you to create a group and get going.
Make sure to share this with your friends too by clicking the social icons on the left.