Creating your first funnel with Click Funnels – Part 2
Yesterday, I created a new funnel with Click Funnels.
You can check out that episode at cis289.jsgagnon.com
Unfortunately, 45 minutes wasn’t enough time to create that funnel.
I got to page 2 and needed more time so I decided to do it in a second episode.
Getting a Click Funnels account is free
Before we move on though, make sure you have your Click Funnels account to follow along.
Go to http://cf.jeansergegagnon.com to register for your free 14 day trial of Click Funnels.
You’ll just need to click on the big blue Start Free 14 Day Trial Now button.
The next step in funnel editing
Since we really discussed the basics in the previous episode, let’s talk more about integration and other settings.
One thing you might want to do is remove a page from your funnel after you create it.
You can do that very simply by clicking on the x next to the page
and then click on OK on the popup confirmation
Which will remove the page from your funnel.
Linking your funnel to other pages
If you want your funnel to go to a paypal or other link outside of the funnel when they click a button, you’ll need to add that link to it.
First, click on the button the page to open up it’s settings.
Next in the settings, you’ll need to click on the green Set Action button, then select Go To Website URL option.
Finally enter the URL.
Creating your simple Thank you page
The last page of your funnel is usually the thank you page.
It’s a page you would normally thank them for doing what they did – could be just joining your list or it could be buying your product or upsell.
Keep in mind you can make a complex funnel with multiple thank you pages based on their actions.
Right now though, we’ll just talk about a basic thank you page.
I chose a simple page with just a video on it.
The cool thing about Click Funnels is that you really can do anything with the page that you want.
What you start with is just a beginning.
Edit the text by highlighting it and replacing it.
Remove the logo by clicking on the trashcan icon.
Change the button text and colors by selecting the button and editing the text.
Conclusion
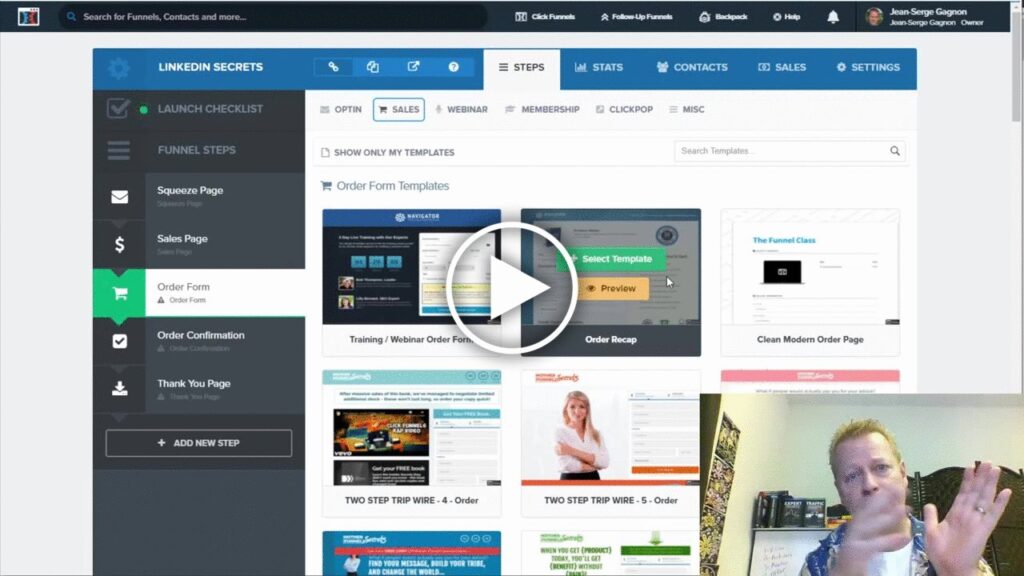
Watch the video to see all this in action.
I also cover more and show things I wasn’t able to capture in this blog post.
Make sure to share with your friends by clicking on the social icons and comment below if you got value or have any questions.