Creating your first funnel with Click Funnels
I’ve been putting this off for way too long.
I have created over 29 funnels in an other tool.
I have yet to create a live one in Click Funnels!
Even though I’ve been paying for my account for over a year!
Crazy right?
Creating your first funnel
Before you can create your first funnel, you’ll need a Click Funnels account.
The good news is they have a free 14 day trial.
Just go to http://cf.jeansergegagnon.com to start your free trial.
Once you have your account, you’ll see the main dashboard.
Click on the green Build a Funnel button to get started.
Choosing your funnel goal
The first thing you need to do when creating a new funnel is to choose the goal.
There are 3 common goals for a funnel.
They are collecting emails, selling your product and hosting a webinar.
You can also create a totally custom funnel
Depending on your choice, you’ll get different funnel options.
We’ll pick the Collect Emails goal to continue.
Finishing up the preparation for your funnel
Next, we need to give our funnel a name and create it.
Enter a name that will identify it for you, this is not seen by any of your customers, it’s only for your use to manage the funnel.
After you’ve created the funnel, you next need to customize it.
Customizing your funnel
When you create a funnel, you are setting up a set of pages in a particular order and with some default text and images.
You need to make it your own by editing the text and changing the images (and possibly videos)
But before even doing that, you need to choose each page in the funnel.
Each step in the funnel is a page with specific actions you want your prospect to do.
For example, one page might be where they enter their name and email and another might be where you ask for their credit card number.
Yet another page might be a login to a membership site and one more might be a thankyou page with a video of you
Choosing the funnel page
You’ll see the funnels steps and a list of possible options for the step you are editing when you first create the funnel.
For each funnel step, you can choose a page to use for that step.
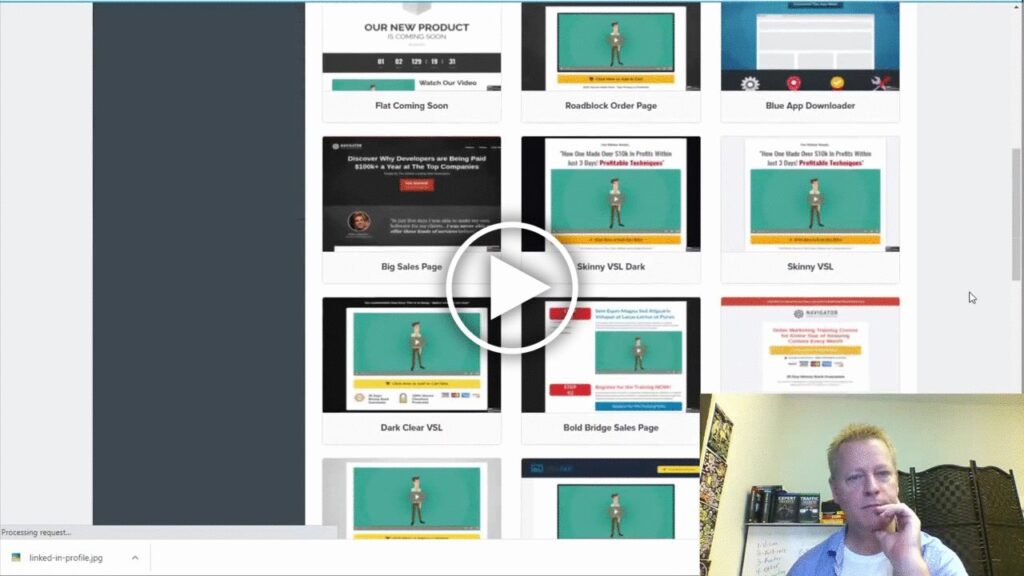
Just mouse over the pages and click the yellow Preview button to see what the pages looks like.
And when you are ready to choose the page to use, click the green Select Template button.
This will load up that page template for that funnel step.
Edit the funnel page
Next, you’ll need to edit the actual page.
Click on the yellow Edit page button to load the editor.
This will load the editor and you can change any of the text on the page.
As part of the funnel page editing, you also need to choose actions and integrations the page needs to do.
For example, a page that asks for a name and email needs to be integrated with an email list.
Click funnels does have a basic auto responder which you can use or you can integrate with the tool I use, aWeber (get free account at http://aweber.jeansergegagnon.com)
Access these options by clicking the Settings pull down on top of the page and then selecting the Integrations option
Once there, you can select the integration and it’s settings.
Integrating with aWeber
As an example, let talk about integrating with aWeber.
Once in the integration settings panel, you’ll be able to select aWeber in the drop down list.
After selecting aWeber as the integration, you’ll be given an action option.
Choose Add To List with Tag option
Then you can select your list to add the new subscriber to
Lastly, you can then enter a tag to give new subscribers.
Conclusion
In the video I show you how to do all this so make sure to watch.
Also, I realized this is a longer process than I thought especially since I’ve not really created a funnel with Click Funnels yet.
I’ll do another episode tomorrow to continue the creation of the funnel, so make sure to stay tuned.
Please share this post and video by clicking the social icons of your choice.