How to use the Pinterest Ad platform to retarget properly?
Time to setup your Pinterest business ads for retargeting.
Just like most other social media platform with Ads, Pinterest allows you to retarget people.
Retargeting is the reason you see ads from the same people over and over.
You can set that up to.
Why should I use retargeting?
You must have heard about the number of exposures rule, no?
Well, the marketing gurus will tell you that someone will only buy from you if they see your offer at least X times.
This X times varies depending on your industry and the competition but it’s around 5-10 for most online markets.
Of course, it varies depending on your brand and many factors.
But, the truth is that no matter what you sell, people will not buy the first time they see your offer.
Setup your Pinterest Business account
Before you can do any of what’s suggested on this page, you’ll need to enable your business account.
The process is quite simple ad is free.
As explained on this Pinterest Business help page, you just do this:
1- Log into your personal Pinterest account
2- Click the directional chevron down icon in the top-right corner to open your menu
3- Select Settings
4- Click Account settings from the left-side navigation
5- Click Get started next to Convert to business account
6- Click Switch to business at the bottom of the table
You can also create a separate business account if you prefer.
Get your domain and website verified
Before you can create an audience, you’ll need to have posted pins.
Pins will also need links to your website and that domain must be verified.
Verifying your domain is done in one of three ways
- Add a TXT record to your domain
- Add some code to your web site header
- Add a page to your website
Click the little down arrow and select Settings
You go to your profile, select the claim domain section and then click the Claim button next to Websites.
Choose how you want to setup your domain for verification and click Continue.
Lastly, enter the domain and click Verify button.
Create your retargeting audience
Even though you can create an Ad in Pinterest and specify who to target using standard demographics (Country, Age, Gender, interests, etc…), you need to create an audience for retargeting.
On the desktop, click on the Ads and select Audiences
Next, click the big red Create Audience button
Select the option for engagement audience and click Next.
You can select different filters and get audience members from the past.
For example, I set the days to maximum of 540 and select the Action Types filter with all the options enabled.
You can also add multiple filters but when you are happy with the audience definition, click on Save.
This will add the audience to your list of audiences and begin the process of populating it.
It will take a few hours if not a few days depending on your audience size.
Keep in mind, that if your account is new and your domain isn’t verified yet, you won’t have many people in your audience.
Using the Pinterest Tag
You can also create an audience using the Pinterest Tag
You add this Tag to your website which allows you to create an audience of people who visited your web site.
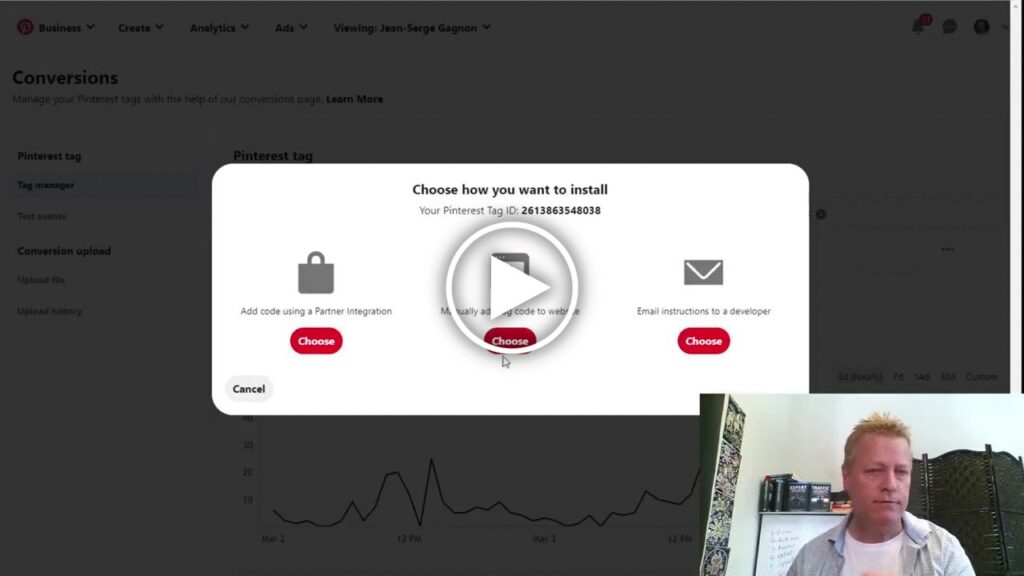
Create your tag by going to the Conversion page from Ads pull down.
You need to first create your tag and then you get the code to add to your site by clicking on the three dots and choosing Configure Base Code.
Choose how to install the code.
For example, if you choose to Manually add tag code to website, you’ll see the code page and other options.
Follow the steps to add the code to your web site or ask your developer to do it. (I can do that for you – just contact me)
Conclusion
Once you’ve created your tag, added it to your website, verified your domain and started creating pins, your audience will grow.
You can then create ads using your audiences to create re-targeted ads.
Watch the video as I go through this but also show you how to create an Ad.
Share this with your friends by clicking on the social icons.