Quick setup of WordPress for Online Marketers
As an online marketer, you will want to have a web site or blog.
WordPress is the most used blogging platform today.
Even with all the other options out there, WordPress is still used by over 70% of web sites out there.
It’s easy to understand why when you look at the features of it.
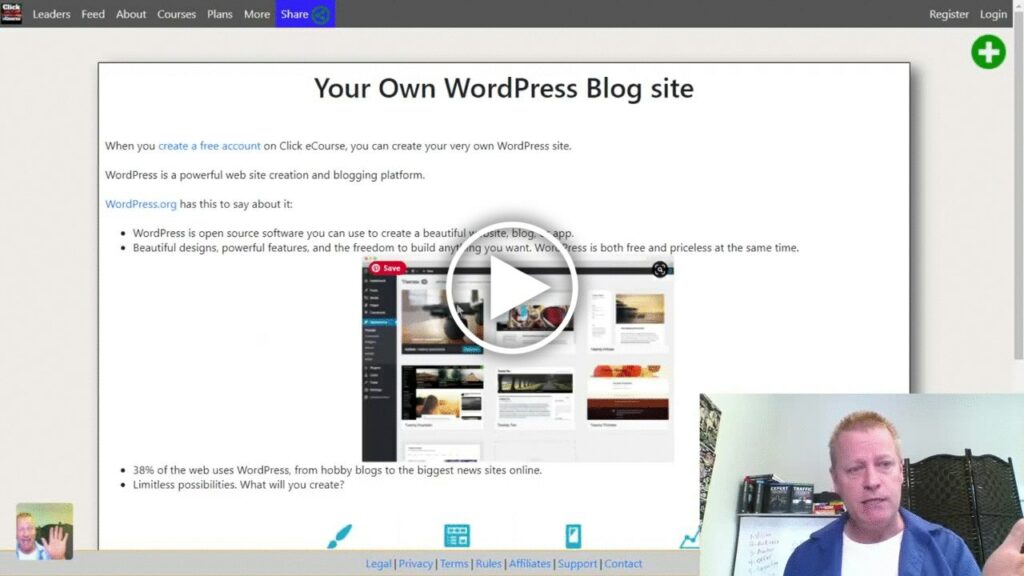
You can setup your own WordPress host at https://clickecourse.com/blog/ and read along or watch the video.
We’ll talk about setting up your own WordPress site but we will specifically talk about what marketers really need to watch out for.
What will we cover in this blog post?
In this guide, we will go through these steps:
1- Install WordPress
2- Setup your account
3- Set permalink for SEO
4- Install plugins
5- Choose a theme
6- Create basic pages
7- Create a Post
Let’s get right to it…
Step 1: Install WordPress
As mentioned before, you can setup your own WordPress site at https://clickecourse.com/blog but everything after this step can be done on any other WordPress install.
If you do use Click eCourse, you’ll first need to register an account.
It’s as simple as clicking the Register link on the top right of the page.
Which will popup a dialog on which you can just click to Continue with Facebook or choose to enter an email and passord.
If you choose to enter your email and password, you’ll need to click a link in the activation email you then receive.
This is not required if you choose to register with Facebook.
After approving the login with Facebook, you’ll see a message stating registration was successful.
Once you are logged in to your new account, you’ll want to navigate to the blog tab in your account. Click your profile picture and select the Blog link.
Which will take you to the Blog setup page. Enter requested information and click the Click here to activate it now button.
You will see a dialog showing your WordPress site is being deployed.
After a few moments (about 2 minutes), the page will refresh showing your blog is activated.
Now you can see your empty WordPress blog website by clicking the Access your blog link and use the Manage your blog site like to access the WordPress dashboard.
Step 2: Setup your account
Now that you have a WordPress server setup, you’ll want to make sure any posts or pages you create show up as created with the correct user name.
In WordPress, you can create any number of users but it starts with the admin user when you create the site.
We don’t cover how to setup a new user account in this guide but it’s relatively simple. A user can be a Subscriber, a contributor, an author, an editor or an administrator.
The default admin account is all you really need, so we’ll just show you how to set that up.
Click the Users menu item in the WordPress back office. You’ll see your single admin account.
Click the username to edit it and then scroll down to enter your first and last names and also select the proper Display name publicly as in the pull down.
Finally, scroll to bottom and Save your profile changes by clicking the Update Profile button.
You might also want to ensure your profile picture on Gravatar is setup correctly – just click the link to set it up.
Step 3: Set permalink for SEO
The next super important thing to do in WordPress is to ensure the links to your blog pages are SEO friendly.
What that means is that you want the links to include the text from the post.
As you surely know, SEO means Search Engine Optimization and one of the things search engines really like is that the link to your post has the search string users searched for.
The default post link in WordPress uses a simple ?p=number for posts. This has no value for search engines.
Go to the Settings -> Permalink page
Choose the option called Post name and save changes.
Step 4: Install plugins
As a marketer, there as definitely lots of plugins you might want to install.
If you google something like best WordPress plugins for marketers, you’ll find a ton of lists that you might want to check out.
The bare minimum that I recommend are these plugins:
- Headers so you can add pixels and tags for retargeting ads
- Popup generator so you can ask people to join your list or buy your stuff
- Social sharing so people can share your stuff easily
- SEO helper to more easily know if your SEO ranking is good
To install any plugins, you simple go to the plugins page and click the Add New button
After which you’ll enter a search string to find your plugins.
For example, the “Insert Headers and Footers” plugin by WPBeginner
Click the Install Now button and after it’s installed, click the Activate button.
Do this for the other 3 plugins I mention.
I’ll let you watch the video to see how to find and install the other plugins as well as the next steps.
Conclusion
Go watch the video for the rest, steps 5, 6 and 7 are covered in the video plus you get to see much more details.
If you have any questions, let me know but the next steps, such as adding blog posts and using more advanced features and themes can be found by just googling what you are trying to do.
That’s one of the great things about WordPress, there are so many tutorials that you’ll always be able to find help.
Share this by clicking the social icons.