How to create an Online Course in an hour or less?
Is it really possible to create an online course that quickly?
I think it is and I’ll show you in the blog post and video how to do it.
We will also cover what you need to be ready to actually do this.
Finally, I’m actually going to create a course while I do this video with you.
What are the simple steps?
When I say creating an online course in under an hour is possible, I’m referring to a simple video based course.
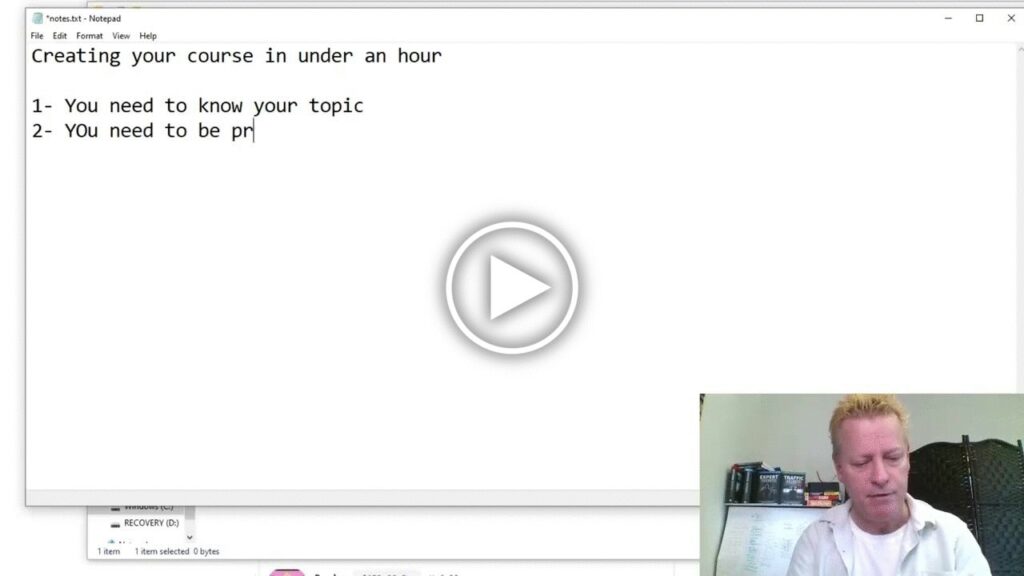
Before you can accomplish that, you need to have the following prepared or known.
- You need to know you topic
- You need to know your lessons
- You need to be used to the technology
So, I lied a little.
I mean, those three things could take you years to get ready for.
Personally, I’ve been recording videos for over 5 years now, so #3 above is easy for me but it might not be for you.
I’ve got my topic, now what?
Awesome, well, next is to get ready to record your lessons.
In the video for this blog post, I actually go through creating a course.
This is what I want you to do.
Obviously, you don’t need to create a social media post or a blog like I do with it, but the idea is to record it all in a single sesssion.
What comes after recording the video?
After you’ve recorded your video, you use an editor to cut up each lesson.
While you recorded, you took notes of where each lesson started and ended.
It’s not an exact science, but you use your notes to find the start and end of each lesson.
You then use the video editing software to trim the full video into each part.
Save those parts, i.e. crop them, into their own video files.
Another way to do it
If you’re not recording a blog post like me, you could always stop and start recording.
That way, you don’t have to split them up later.
So, just click the record button when you start the lesson and click the stop when done for each lesson.
You might still need to edit the recording after to trim the beginning and end or ever spots in middle where you messed up, but that’s normal and expected.
I have the lessons recorded and edited, now what?
Great, after you’ve edited all the lessons into separate video files, you are ready to host them.
There’s tons of placed you can host your videos into a course.
You can even simply upload them to YouTube and send an email with each video link in the sequence you want them to watch it.
Chances are though that you’ll want to have a place where your students can track their progress, comment on lessons and find the course easily.
I use Click eCourse.
Just go to https://clickecourse.com, register a free account, click the big green + to create your course there.
Creating your course
The first few screens will be where you enter your course title, summary and description.
Next is more advanced things like SEO, hashtags, headere code, etc.
After that is categories and then your thumbnail image.
Finally, you choose you price, commissions and what sites to show it on.
See the video for those steps.
After that, you add your lessons and you’re good to go.
Conclusion
I did a course on Setting up your own BitClout Node in the video.
The course will be available at https://www.clickecourse.com/course/how-to-setup-a-bitclout-node-and-get-blockchain-data/156 so you can see the finished result.
Watch the video for more details on the process.
Share this with anyone who’s struggling to finally create their course with the social icons.