How to Setup your Click eCourse Account?
Now that you have your Click eCourse account, let’s make sure it’s setup right.
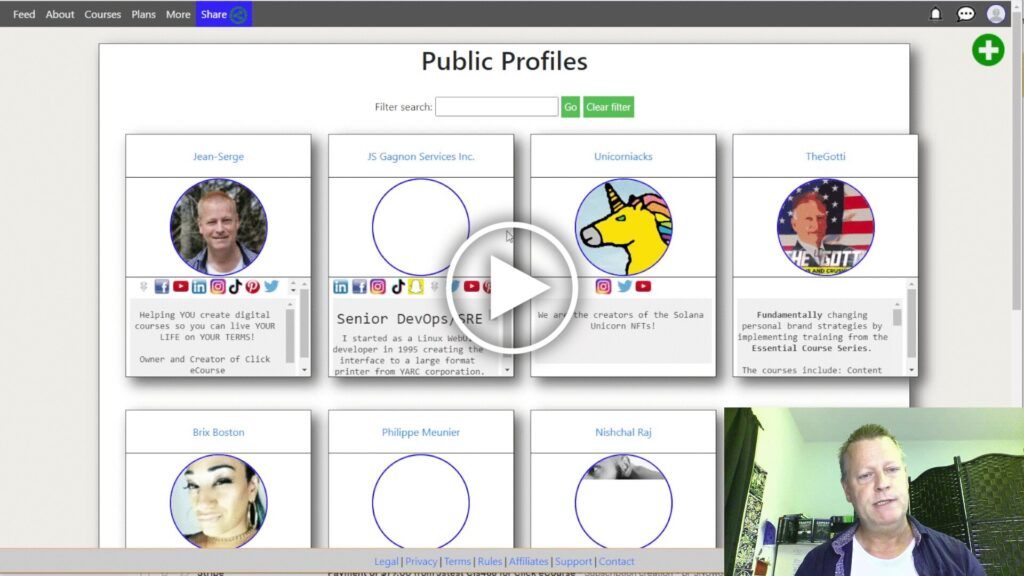
On Click eCourse, at https://clickecourse.com, you can be a student in a course or be a member in a group.
You can, of course, also create your own course and sell it as well as setup your own WordPress blog and use the syndication engine to generate content.
If you are building a business online, you’ll definitely want to tell other about this great platform and we will reward you for that!
What is Click eCourse platform?
Click eCourse platform is a social course hosting platform with tools for affiliate marketers.
On Click eCourse, you can:
- Host your own courses and sell them whatever price you want!
- Give the commissions you choose for course you create.
- Publish your courses to a public marketplace or leave it completely private to you!
- Create you own school site with the features you want!
- Promote other people’s courses and receive commissions for sales.
- Use syndication engine to generate unique content for your social posts.
- Setup your own WordPress blog directly on the site or as it’s own domain.
- Create groups to communicate content to members,
- Post updates to the news feed.
- Comment on posts in feed, in groups or on course content.
- Rate courses so they are featured on the home page of marketplace.
- Setup your own Links page
- Choose is your course students can download the audio of your courses.
- Host a podcast from your posted course videos.
- Connect with others on the platform and become their friends.
- Send private messages to others on the plaform.
- As course creator, you can can send email to all students.
- Integrate with aWeber to automatically subscribe new students to an email list.
- and more…
I bet you can see the potential of this platform and why you’d want to tell others about it.
While most of the features are free, advanced and high volume use does require a paid upgrade and no matter how long ago you referred someone, when they start paying, you get your commissions!
How to get paid on Click eCourse?
Before you can get paid for referring others to the platform, your account needs to be setup properly.
We will get you setup in this post by doing the following:
- Setup or change your password
- Setup your profile picture, Cover photo and BIO
- Setup your social links
- Setup your affiliate commissions
Let’s get to it.
Step 1: Setup or change your password
If you’re security conscious, you’ll want to make sure your password is secure and the process to change it is quite simple.
Getting your account involves clicking on an activation link in an email and depending on how you got the account, either by registering yourself or by a bonus from a promotion, the link will take you to the site and log you in.
You’re in, that’s great, but you might not want to use the password from an email sent to you.
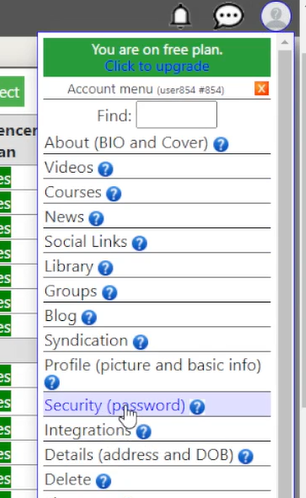
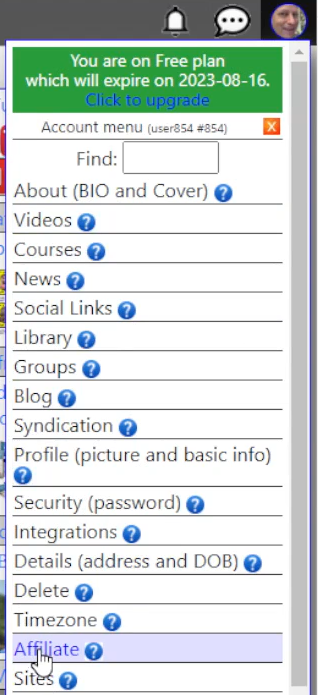
If you know your password, the simplest way to change it is to go to your account menu and select the security option.
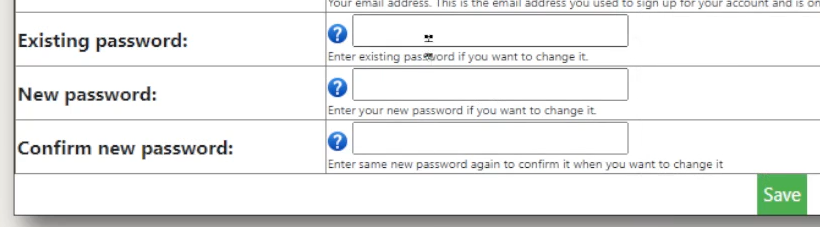
Which will take you to your account password settings where you must enter your existing password and your new password twice then click Save button.
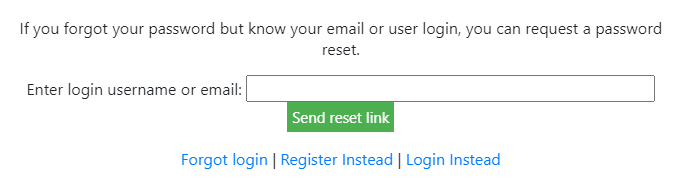
If you don’t know or forgot your password, just click the Forgot Password link on the login popup.
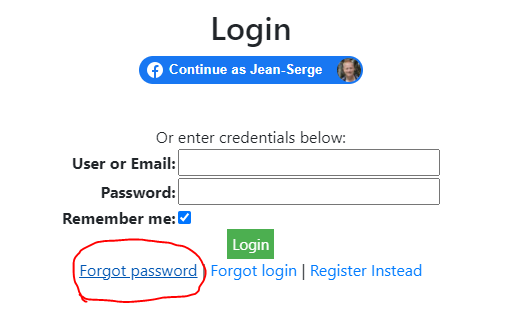
Which then asks for your email or username to send you a password reset link.
Step 2: Setup your profile picture, Cover photo and BIO
Just like any online platform, you can add a profile picture, cover photo and BIO to your account.
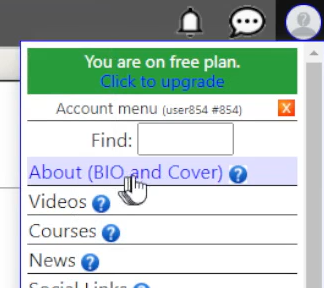
Click the account menu icon and select the About (BIO and Cover) option.
Click on the Update button to change your profile picture.
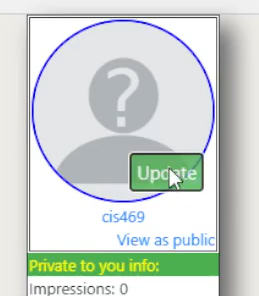
Which will popup an option to select a new image from your computer to upload.
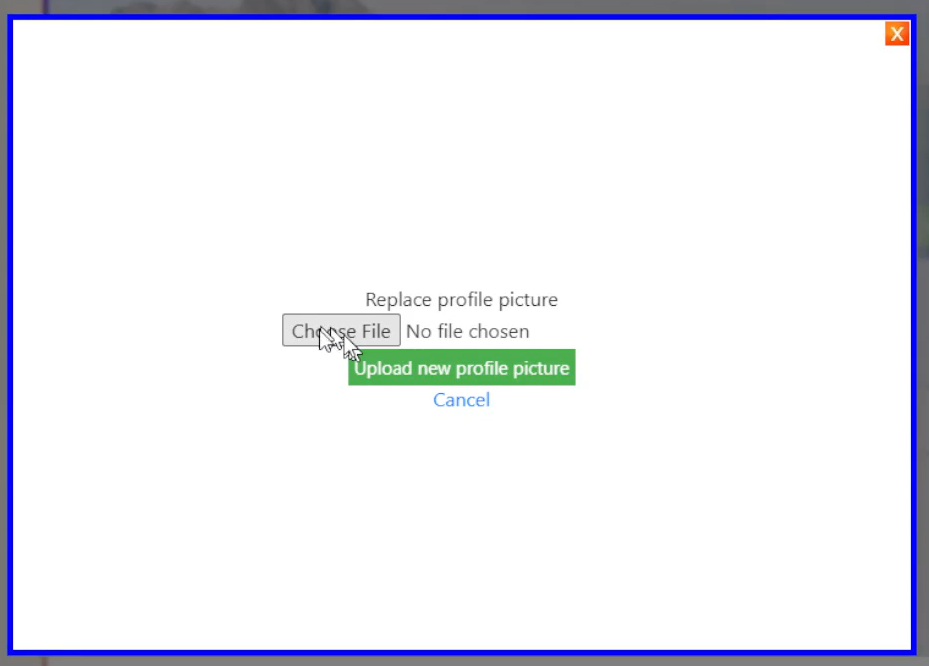
Click on Choose File to select it from your computer and then click the Upload new profile picture button.
Next, do the same for the Cover photo. Click the Change Cover button to follow the same process.

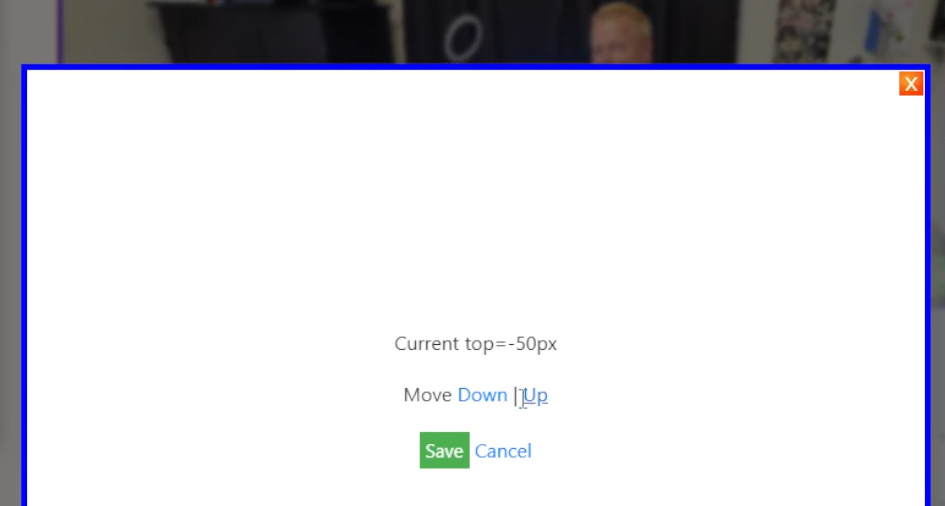
After you’ve uploaded it, you can reposition is by clicking the Reposition button, clicking on the Up and Down links to move it and then Save the position.
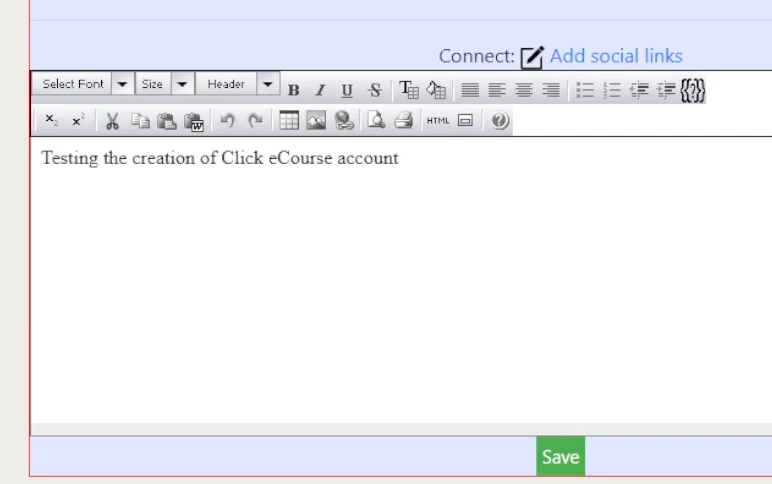
Lastly, simply enter your BIO in the box and click the Save button to save your changes.
Step 3: Setup your social links
As you’ll soon find out, anyone coming to Click eCourse and wanting to connect with you might not be on the platform yet so you want to make sure they can connect with you on the platform of their choice.
To that end, you’ll want to add any of your social links to your profile.
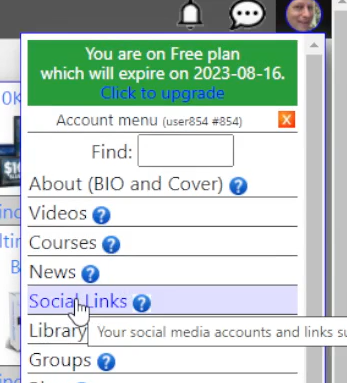
Go back to the account menu and select Social Links option.
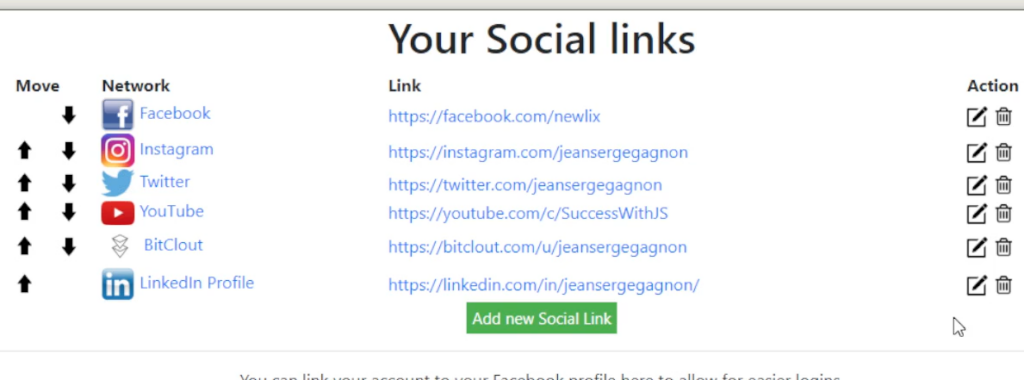
From that page, you’ll see you have no links yet so click on the Add new Social Link button.

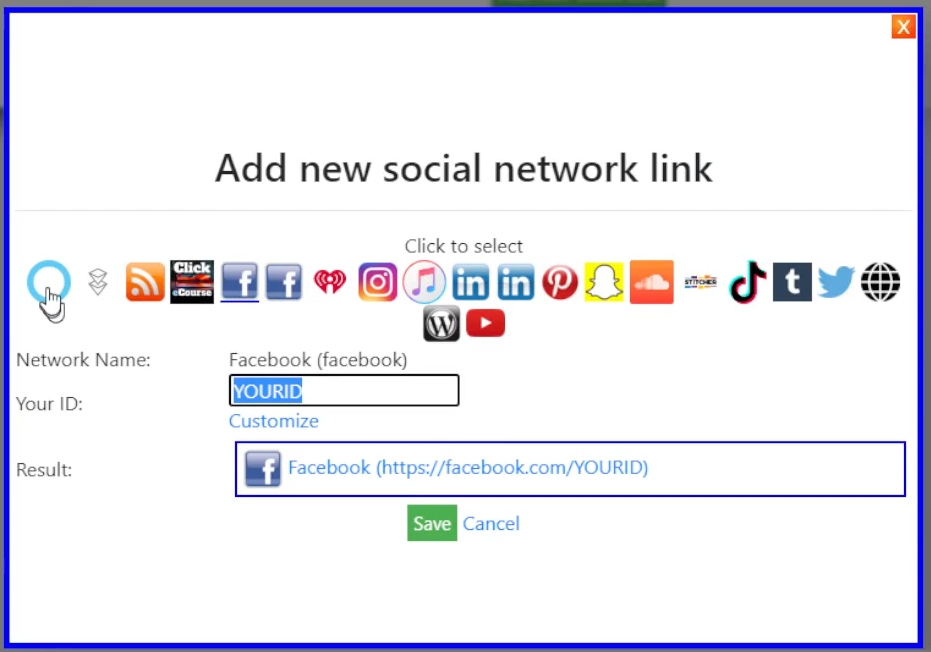
This will give you the popup to add the new link with all the social platforms that are supported. Simply select the social platform, enter your ID and click Save button to add it.
Repeat this process for all the social links you want to add.
After you are done entering them all, you will see your list of social links.
Step 4: Setup your affiliate commissions
Without a doubt this is the most important step because without this, you will not have a branded share link and you will not be able to receive any commissions.
Not to mention that people will not be able to find you on the platform.
If all you want to do is publish and sell a course, then this step can be skipped, but if you think your students will want to use the platform too or you want to promote other people’s courses or the platform itself, you’ll need this setup to get the commissions you are due.
Go to the account menu and select Affiliate option.
Follow the instructions on the page to complete your affiliate setup.
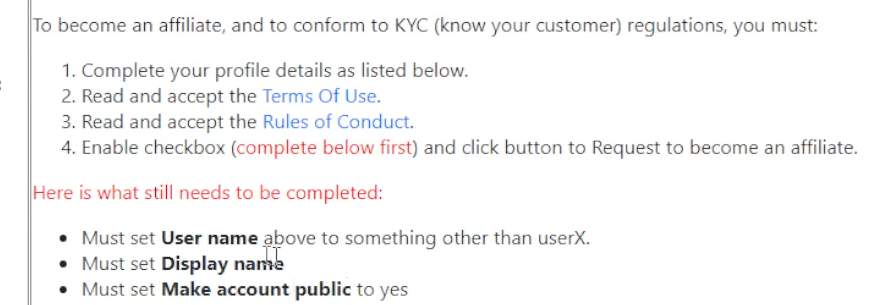
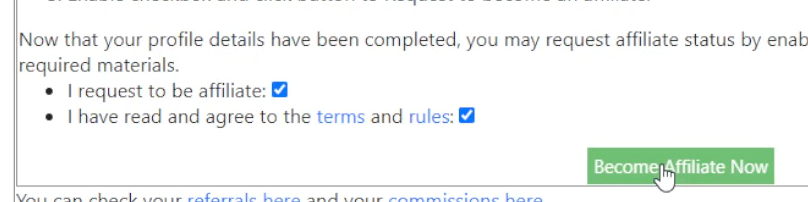
After fixing the mentioned issues, and clicking the Save button, the screen will change to allow you to become an affiliate by clicking the Become Affiliate Now button.
Conclusion
Congratulations, you’ve setup your account on Click eCourse to be able to promote it, promote other people’s course and receive the commissions you are due.
Watch the video to see a more detailed walkthrough of this process.
Don’t forget to share with your friends! Just click the social icons here.