How to create a linktree style page with Click eCourse?
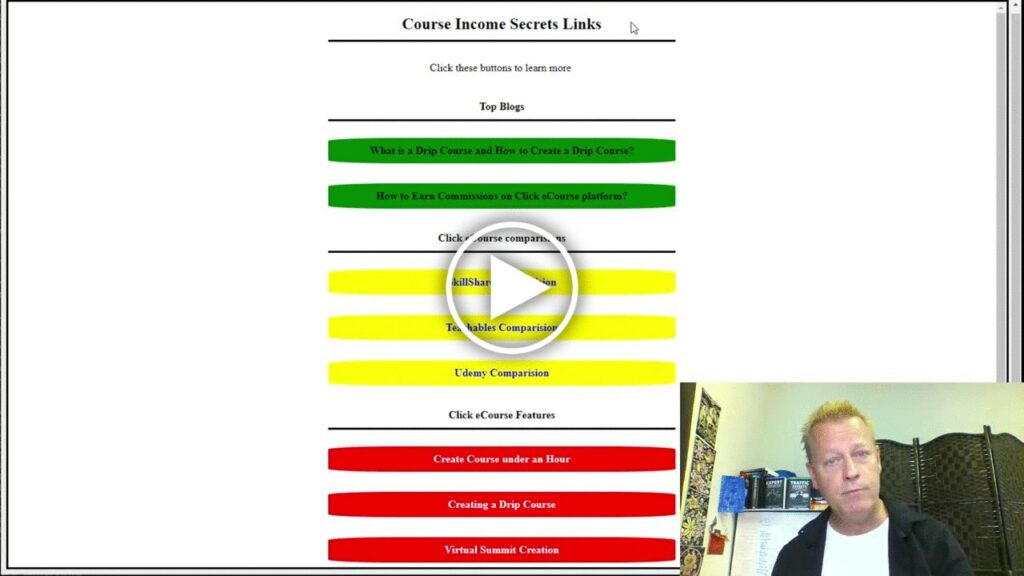
Woohoo! We got a new feature! Your own links page.
I bet you’ve heard about Link Tree, right?
Many people, especially on Instgram, use a Link Tree page.
It’s a great product but for me, it was an extra expense.
What is Link Tree?
If you don’t know, Link Tree is a web service to allow you to create a simple page with links on it.
Each link is a button people can click to go to a specific web site.
You could, for example, have a link to your blog, to your Facebook, to a course you sell or to an affiliate offer you have.
The main problem Link Tree solves is that some social networks only allow one link on their profiles.
Marketers who have multiple products to offer would have to change the link on their Instagram each time.
With Link Tree, you just add the links to it and tell people to click your profile link.
The extras with Link Tree.
Link Tree offers a free account with many features and has a premium account which is just $6/m
That’s certainly very affordable and most people would agree it’s worth it.
Of course, if you have a need to share multiple links.
The extras you get for the paid service are things like better metrics or more themes.
Why Click eCourse links instead?
Sure, I could just use the free account on Link Tree or pay the measly $6/m for premium but why not have everything in the same place?
As the creator of Click eCourse, I thought it would be simpler to have it all in the same place.
With Click eCourse Link page site, you can do the same things as you do with Link Tree and have a single link in your social profiles.
Your link can be your own domain, YOURNAME.clickelinks.com or clickelinks.com/YOURNAME
Why setup another account if you can do it all on the same platform?
Start with registering free account
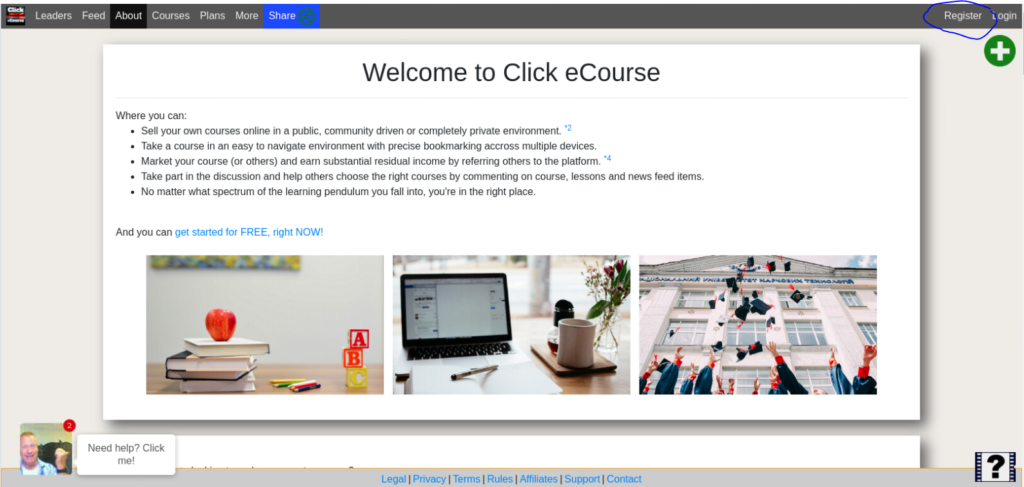
To get going, the first thing you’ll need is an account on Click eCourse.
Click on the register link.
Use either Facebook login
Or click the Use email and password button to enter that instead.
Either way, you’ll get an email confirming your new account.
Difference is with Facebook login, you’ll login right away and your profile picture will be updated from Facebook and with email registration, you’ll need to click activation link first.
Create your Links page
Once logged in, you’ll have a profile picture (if you used Facebook login) or a unknown person icon in top right.
Click that icon to show the menu.
And then click on the Links option in the menu whish will load the default links editing page.
Adding links to your links page
Once you’re on the Links page editor, you can add new links to your page or edit the title and summary.
For now, it’s very basic but by the time you rad this there may be many more features, such as images, backgrounds, themes, videos and more.
When you click the Add new item, the popup gives your the options for sortid, title, url and style.
As mentioned, we will be adding more themes, but the current styles work for a very basic links page.
Each button link looks about the same with the colors mentioned in the styles.
Of course, with themes, this will all be custoizable.
For now, let’s just talk about the items in the popup.
The SortID is an integer value you can set to organize your links in the order you want. If you leave it at zero, it will be added to the end of the list of links.
You can also move them up and down by clicking the little arrows next to each line.
The Title is what shows up in the button text and can be anything you want.
The url is what link you want people to be taken to when they click the button.
You can also edit the title and summary of your links page by clicking the Edit site button of the edit icons next to each field.
Your own domain and page name
You can also customize the site links name.
By default, your link page site url is based on your user id when you login, or if you set your username before accessing it as I did, it will be your username.
To change it, go to the sites dashboard. Click the more menu item and then select Sites.
On the sites dashboard, find your site and click edit link.
From there, you can set your Base host url. Whtever you put in front must be unique and that is the link you will put in your social profile.
Also, the title and summary you put there will be used on your links page site.
Your own domain
You can also create a link site with your own domain as I did for https://askjeanserge.com.
Of course this required your to register the domain and set the cname for clickecourse.com as well as setup your ssl certificate for it.
You could setup your page before registering the domain an setting up the ssl certificate though as Click eCourse platform doesn’t need that to get it setup.
It’s jut the internet that need it for the page to work and be displayed properly to your visitors.
Check video for details on that setup.
Conclusion
The platform also records page impressions and well as clicks on the buttons.
That allows your to know which buttons or links are more popular.
Make sure to watch the video to learn more and see how this is done.
Share this with your friends by clicking the social icons.


[…] https://jeansergegagnon.com/course-income-secrets-368-how-to-create-a-linktree-style-page-with-click… […]