How to create video from images for Ads on Facebook using Canva?
Did you know you can use Canva to create videos too?
I don’t know how long they’ve had that ability but I decided to give it a try to implement a video to grow my audience.
One of my mentors, Marc Lalonde, told me this secret about using a well known icon to get people to know you.
So, I can’t take the credit for the idea, although I don’t think he used canva to create his videos.
What is Canva?
In case you haven’t heard of Canva (have you been living under a rock lol?), here’s a small intro.
If you go to their about page at https://canva.jsgagnon.com/, you will see they say this about it:
Canva is an online design and publishing tool with a mission to empower everyone in the world to design anything and publish anywhere.
Canva about page
My own definition would be an online tool that lets you create great images for social media posts and other mediums.
How to create videos in Canva?
One thing about Canva is how simple it is to create something once you understand the basics.
So, when you go to your account, you can just click on the Video icon and then choose one of the options.
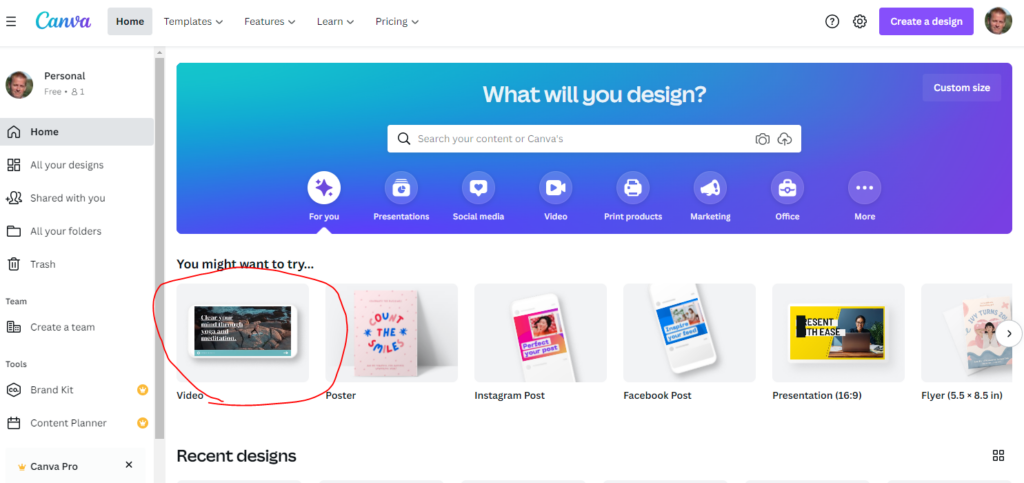
The other option is to click on the Templates pull down and select Video there too.
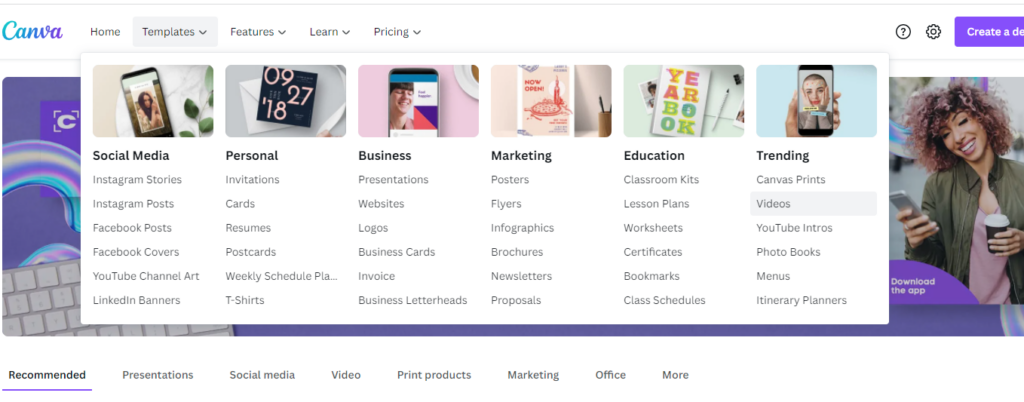
And once you click the Videos, you get to choose the type of video you want.
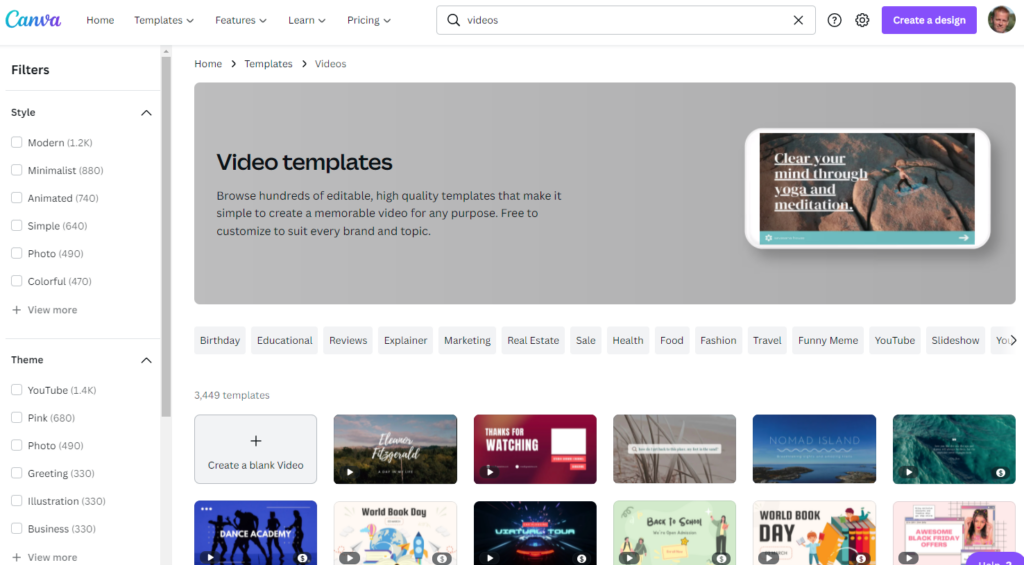
That’s all I’m going to say about using the Canva video templates because what we’re going to do is create a video from an image template.
How to create video from images?
Now that I told you where to start when using the video template and since we’re not going to create a video that way, let’s go to creating an image.
Since we want to create a video from images, we want to go through the process of creating an image.
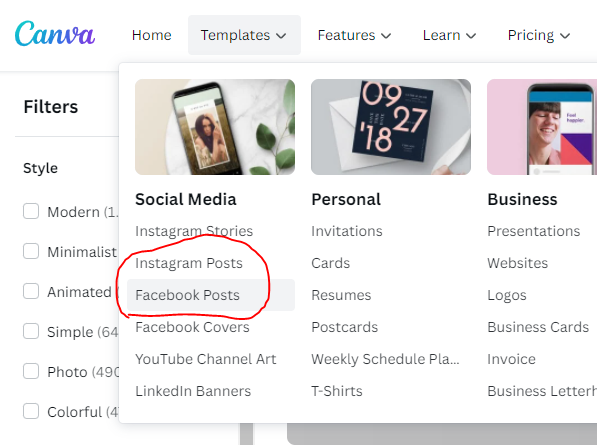
Go to Templates and choose either Facebook or Instagram post.
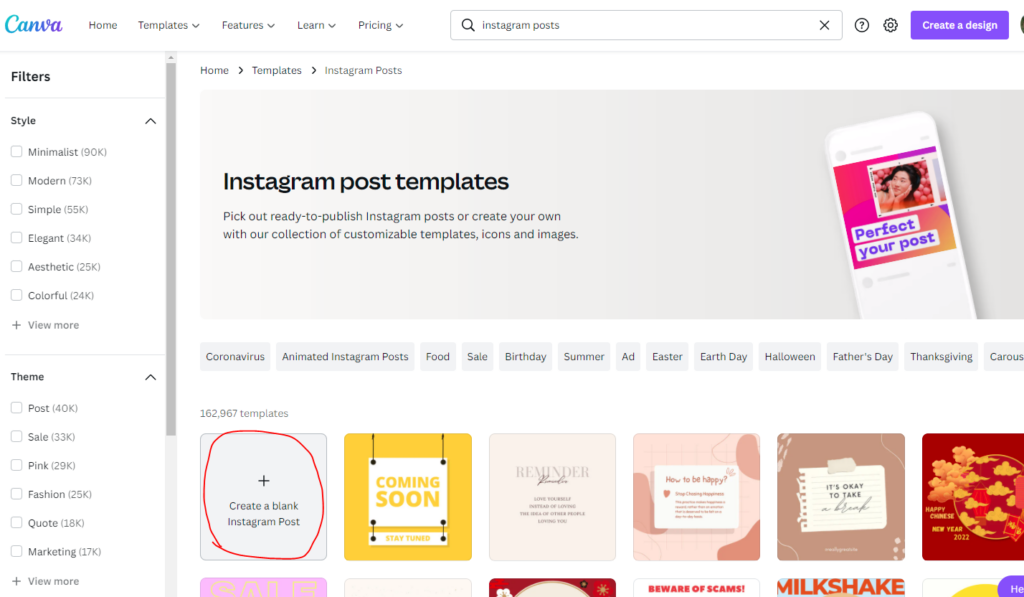
I chose Instagram Posts and then picked Create a blank Instagram Post box.
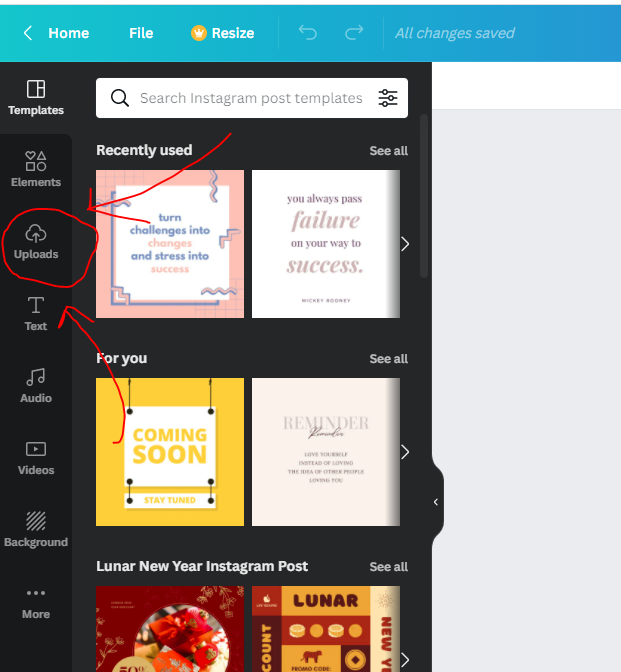
Which will open up the new design view for your new image post.
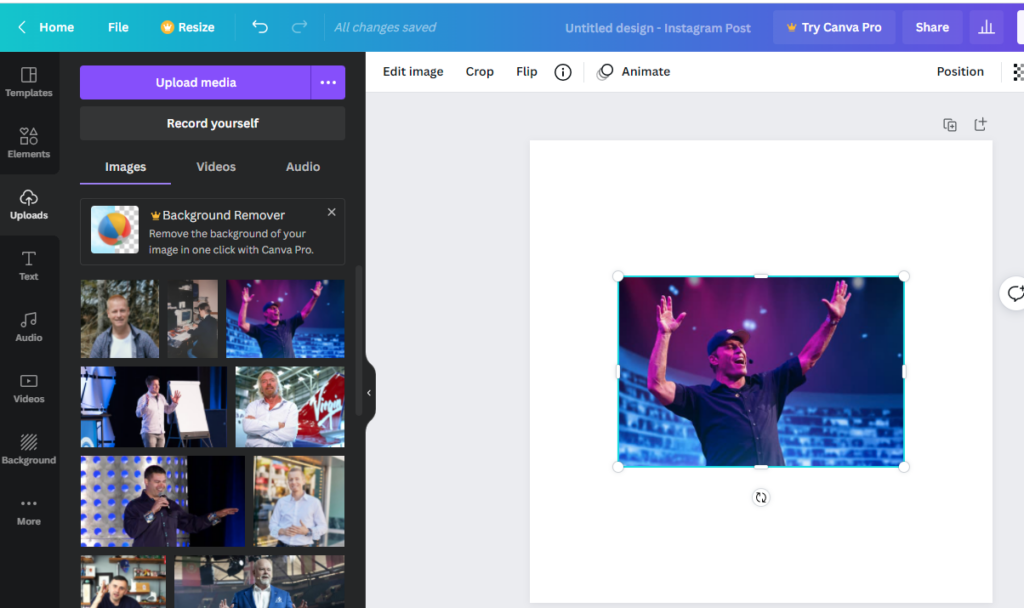
You can enter a title for it and choose any of the images there but in our case, we’ll want to upload images, so click on the uploads icon in the very left of the screen.
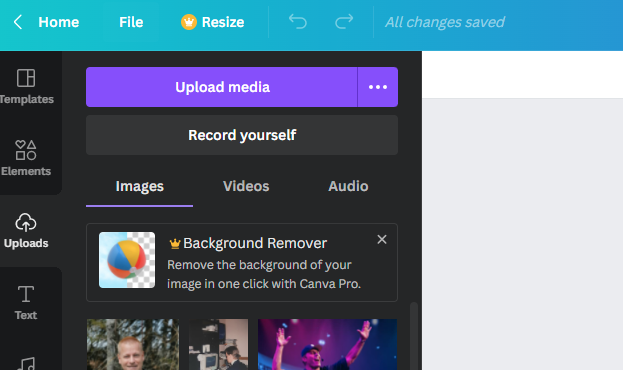
From there, you want to click the Upload media button and upload any pictures you want to use in your video.
What are we trying to do here?
Ok, let’s backup a second and talk about the actual goal we are trying to achieve with this video from images.
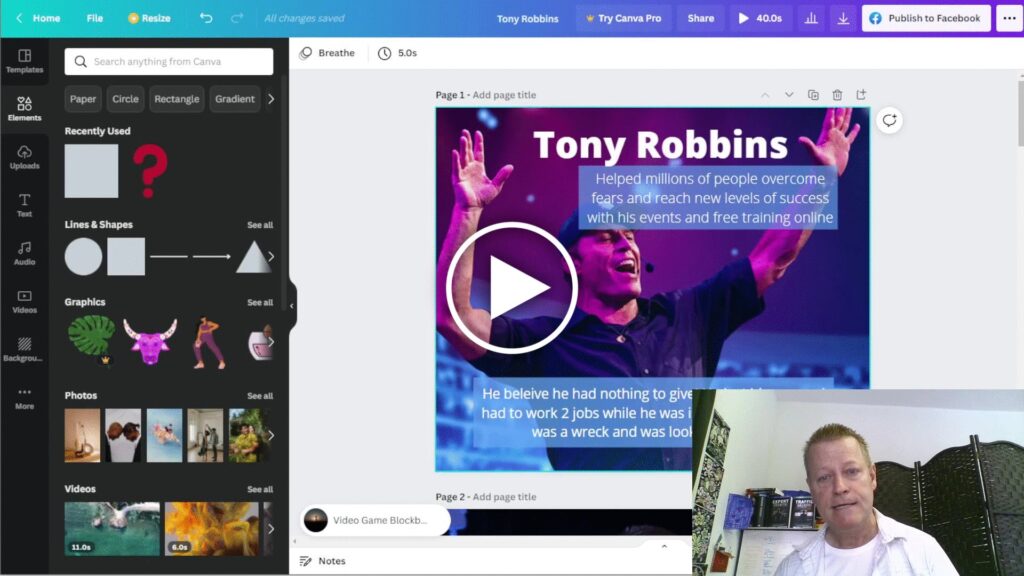
The idea is to create a video with images that your ideal avatar can recognize and really likes to see so they will want to watch the video.
In the mix of images, you will also include yourself so they associate you with everything else in the video.
You’ll want to have 5-10 images in that video with you being the last one and you’ll want multiple versions of the video, each starting with a different image.
With the goal to use each version of the video in an add targeted to the fans of that first image.
In my case, I am doing a video with top leaders in market (entrepreneurs interested in online marketing) and will target each video to the fans of each leader.
Add image to the post page
Start by clicking the image to add if to your canvas.
Then resize it to fill the canvas. First by dragging the top left button.
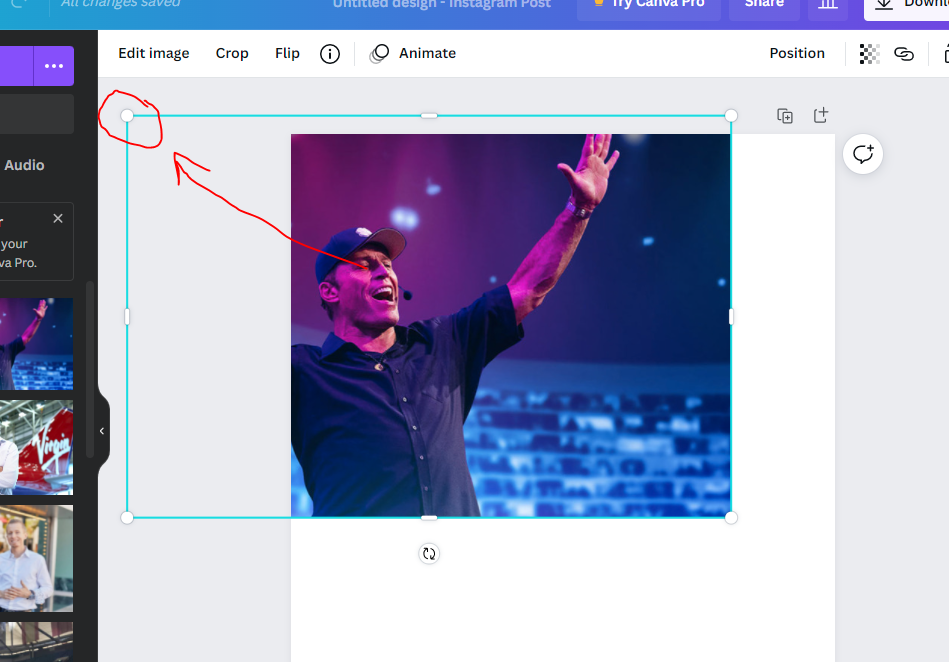
Then by dragging the bottom right button.
Of course, you choose how much to zoom in and you can reposition it as well, but that’s the first step, fill the canvas with the image (or do anything else you’d like too – this will be the first frame of the video)
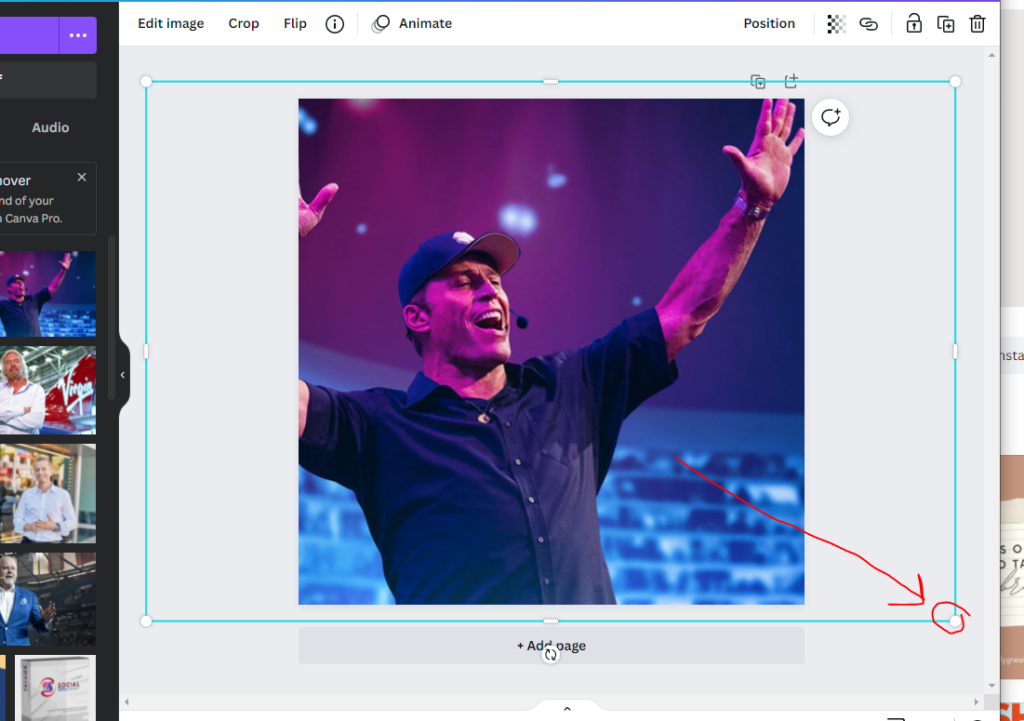
Now you’ll want to add a new page and as I’m sure you noticed, there’s an Add page button on the bottom of the cavas – just click that and then add the next image to it.
Continue adding a new page to your design until you have all the images you want including yourself as the last image.
Converting your images to a video
You can click on the download button and select video as output but we want to make it a video so we can edit other things like animation and music.
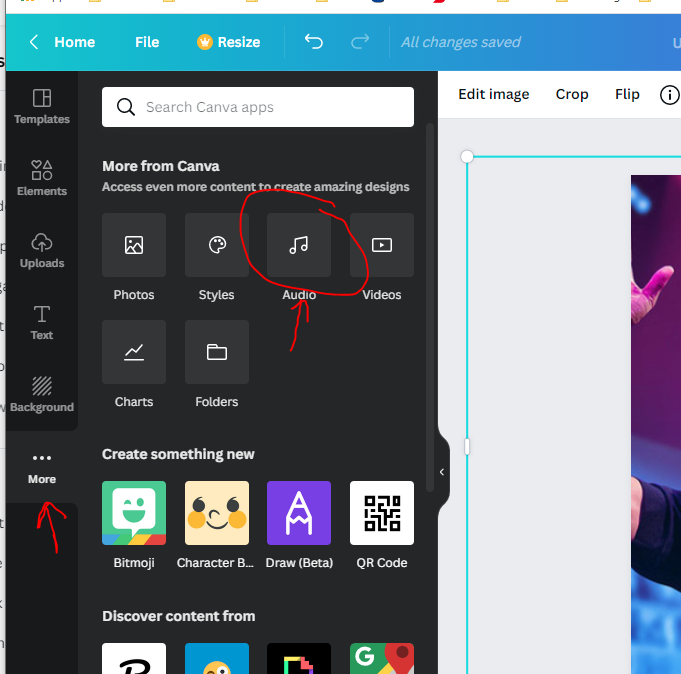
I’m not sure if there’s another way, but if you go to the audio tab and add music, it will make your image into a video.
Click on the More icon and then click on the Audio icon
Once you click on the audio to add, for example the “Happy birthday song”
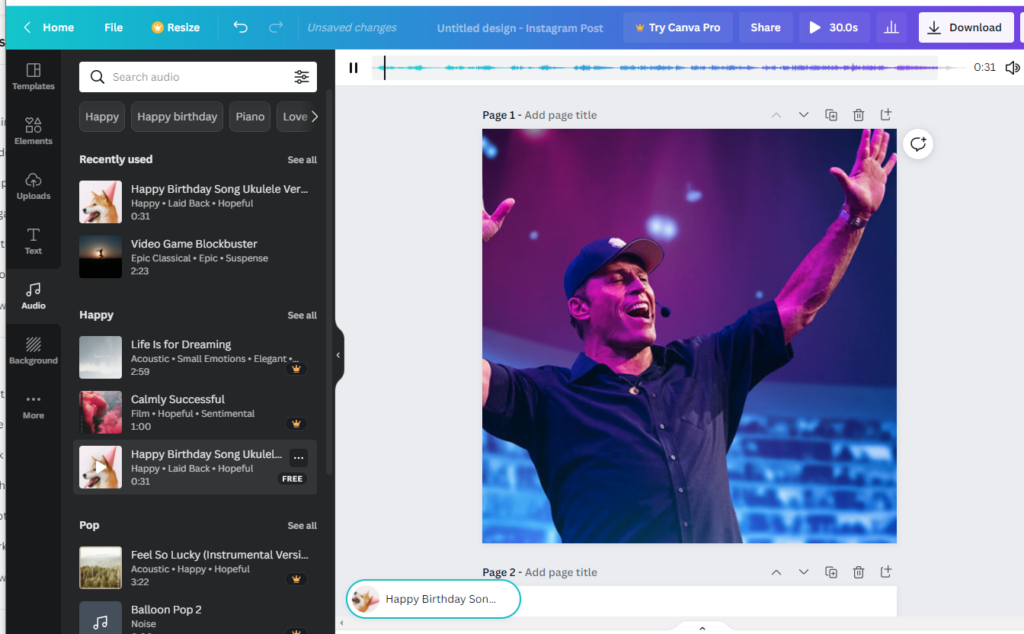
You’ll see it start playing the song but you’ll also notice there’a a new button on top right to play the video.
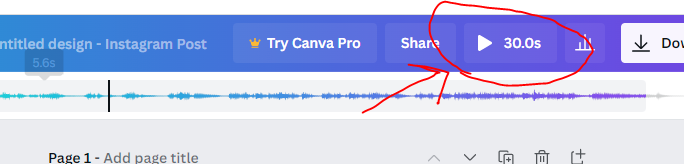
If you click on that, it will start playing the video with your images being shown for 5 seconds each.
To change that, you can click on the image (which will stop playing the music) and then you can change the time by clicking the little time bubble on top.
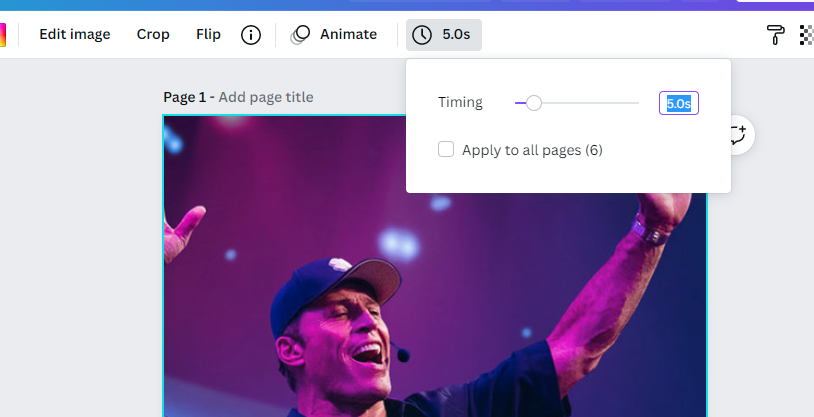
You can choose to set different times for each image or set the same to all.
You can also animate what happens between each image with the Animate button.
Conclusion
After you’ve done all you need on each image, you can then download the video to share it on social media.
I also created multiple copies of the same video with a different image as the first one – all the same video for the rest.
Watch the video on this page to see exactly how to do all that – I share it all in it.
Don’t forget to share this post with your friends, they need to see it too.