How to buy your first NFT with Solana and Coinbase?
I’ve been hearing about NFTs for over a year now and just didn’t think I would be interested in them.
Ok, I know, I know, this is not what you signed up for, but hear me out, NFTs are relevant to courses.
Why do I say that NFTs are relevant to courses?
Well, for one thing, an NFT can be anything, an image (of course), a video or even a link to a web site.
If you wanted, you could release a course as an NFT – not that we’ll talk about that today though.
What is an NFT anyway?
Well, before going on, I’ll give you my definition of an NFT.
Maybe you think it’s just a crazy looking image stored online that anyone can just download and it is that in a way.
You might also have head that NFT stands for Non-Fungible Token which basically means it’s a unique item that only 1 person can own.
Even though it’s true that an NFT can be an image anyone can download, the ownership isn’t the image, but rather the token that you hold in your Crypto currency wallet that only you have access to.
And, just like any other asset, it goes up and down in price based on supply and demand.
How can I buy my first NFT?
This is something I’ve been wondering for a while and I googled too but didn’t find a simple answer.
Until the other when my friend PHARTIST showed me a step by step process to get it done.
Mind you, I have some crypto background so it might have been easier for me to grasp, but I’ll try to explain it in this blog post.
Here are the steps:
- Setup your Phantom wallet chrome extension:
- Go to phantom.app and select the version you want
- Setup your password
- Create a wallet
- Buy some Solana (SOL) cryptos and send to wallet:
- You can buy SOL on lots of exchanges but I used Coinbase and it was a breeze.
- Setup an account on Coinbase and get yourself verified.
- You can get $10 worth of bitcoin for free if you use my link: https://coinbase.jsgagnon.com
- Send your SOL from Coinbase to your Phantom wallet
- Buy your first NFT on Solsea:
- Setup free account on Solsea
- Connect your Phantom wallet
- Find NFT you link
- Click Buy NFT button
- Approve transaction in wallet
Pretty straight forward but still, let’s explain the steps in more detail.
Step 1: Setup your Phantom wallet chrome extension
The first thing you’ll need to buy NFTs is a place to store them.
For that you need to use a wallet that support NFTs and in our case, that support Solsea marketplace.
This is why I used Phantom wallet as a Chrome extension.
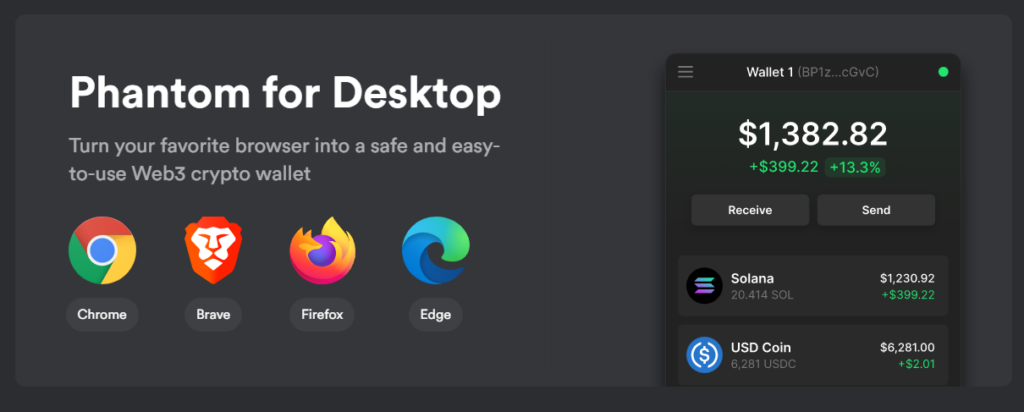
Just go to the download page at https://phantom.app/download and click the Chrome icon to add it to your browser.
Of course, you can choose other options, but this is the one I used.
Once installed, you need to setup a password for it and then create a wallet to use.
It will start with 0 SOL in it of course, but you’ll soon add to it.
Step 2: Buy some Solana (SOL) cryptos and send to wallet
After your wallet is setup, you’ll need to buy some SOL (solana) cryptos from an exchange that sells them.
There are many but I chose Coinbase since I knew it and it’s been around for a long time.
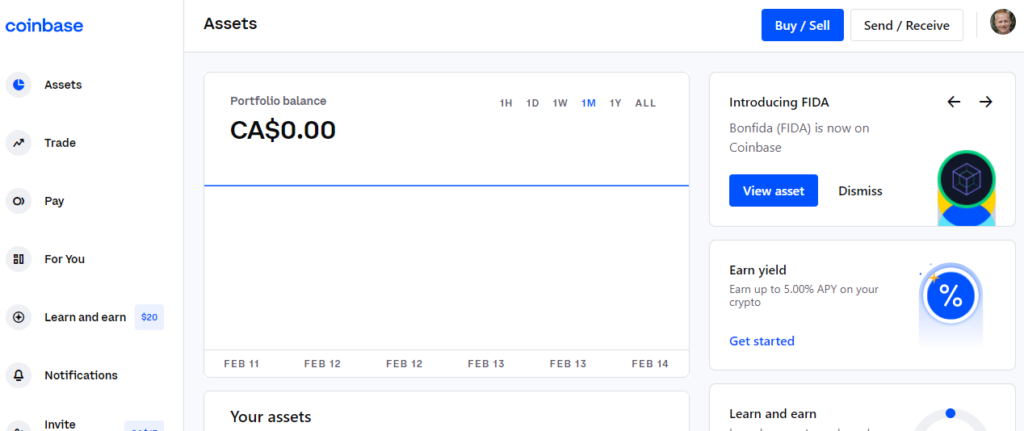
Before you can buy cryptos on Coinbase, you need to first setup and account and get verified.
This just means giving them your address and an upload of your driver’s license.
Don’t worry, it’s very safe to do that for Coinbase, just be careful on other sites that you aren’t familiar with as Coinbase has been around long and it credible.
Once verified (takes 1-2 days), you then can buy the SOL you need.
Start by clicking the Buy/Sell button on top right of screen.
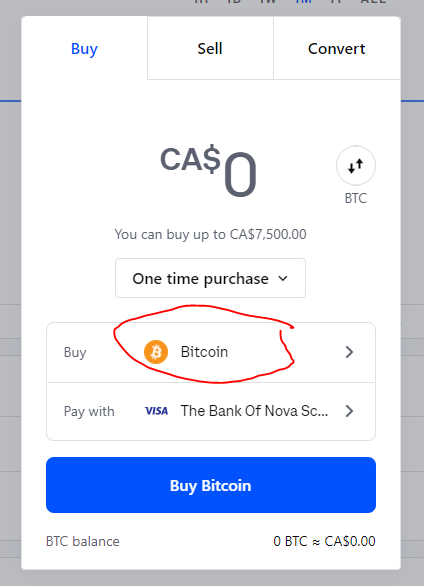
Next, you’ll need to click on the Bitcoin to change it to SOL.
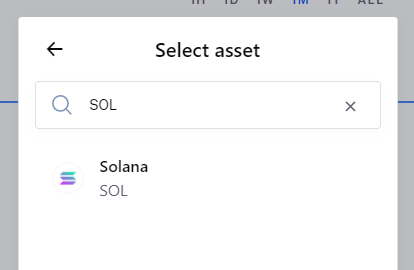
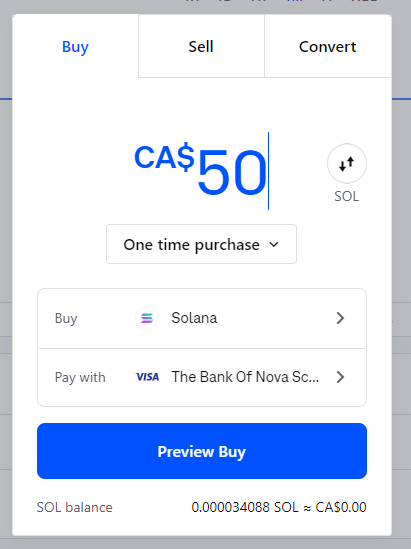
Which will give you option to change cryptocurrency you are buying to Solana (SOL). Type SOL in the search bar and then click the Solana option.
Enter an amount and click the Preview Buy button.
You’ll then be presented with the final confirmation pricing and you can then click the Buy Now button to confirm you want to make this purchase.
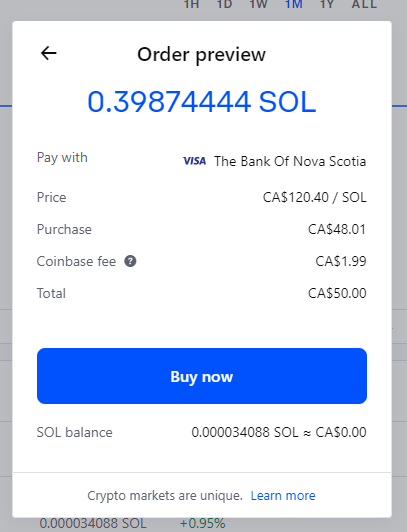
You’ll either get a confirmation or will need to confirm it use a code sent to your phone after which you’ll get confirmation.
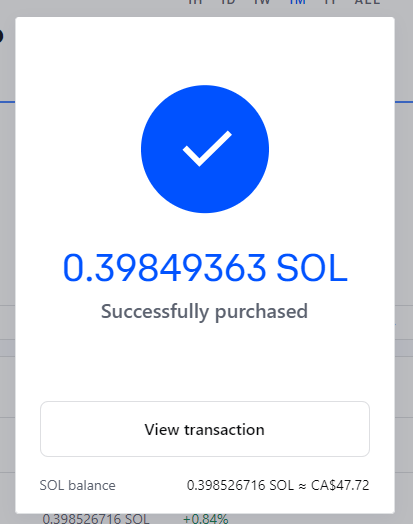
Once you have the SOL in your Coinbase account, you now need to transfer the SOL to your Phantom wallet.
Open the phantom wallet by clicking the icon on top right of your brower.
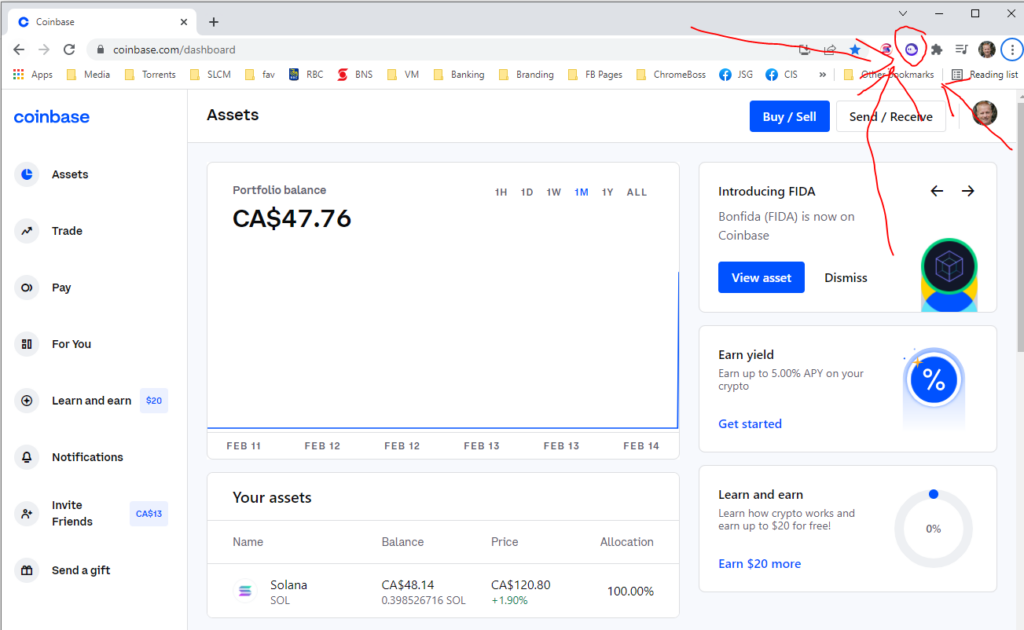
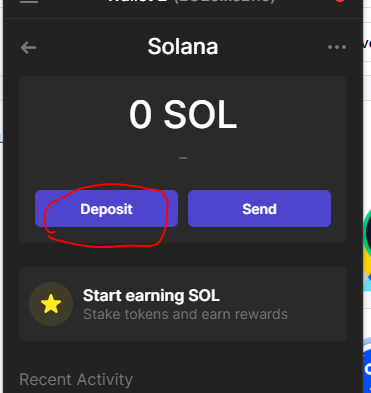
Which will open the Phantom wallet popup. Click the SOL row to open up the SOL options.
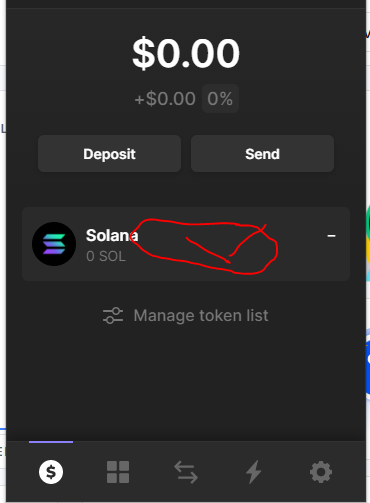
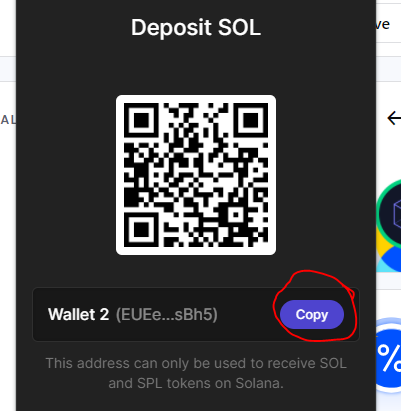
You will want to copy the SOL address from your wallet by clicking the Deposit button
And lastly copy the address to your clipboard.
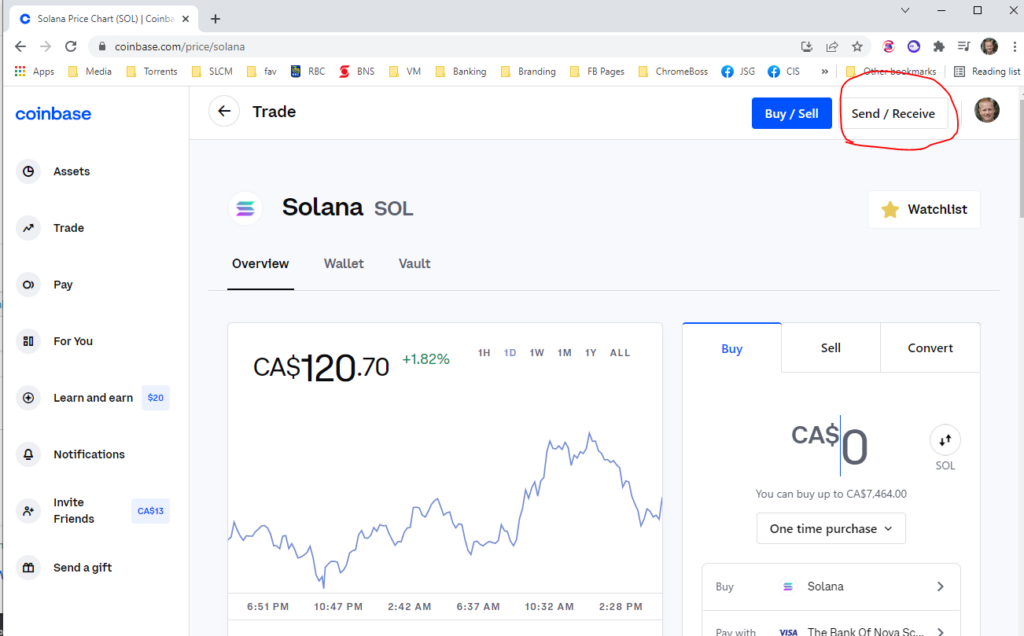
Now, we go back to Coinbase and send the SOL to our wallet. Access your Solana balance.
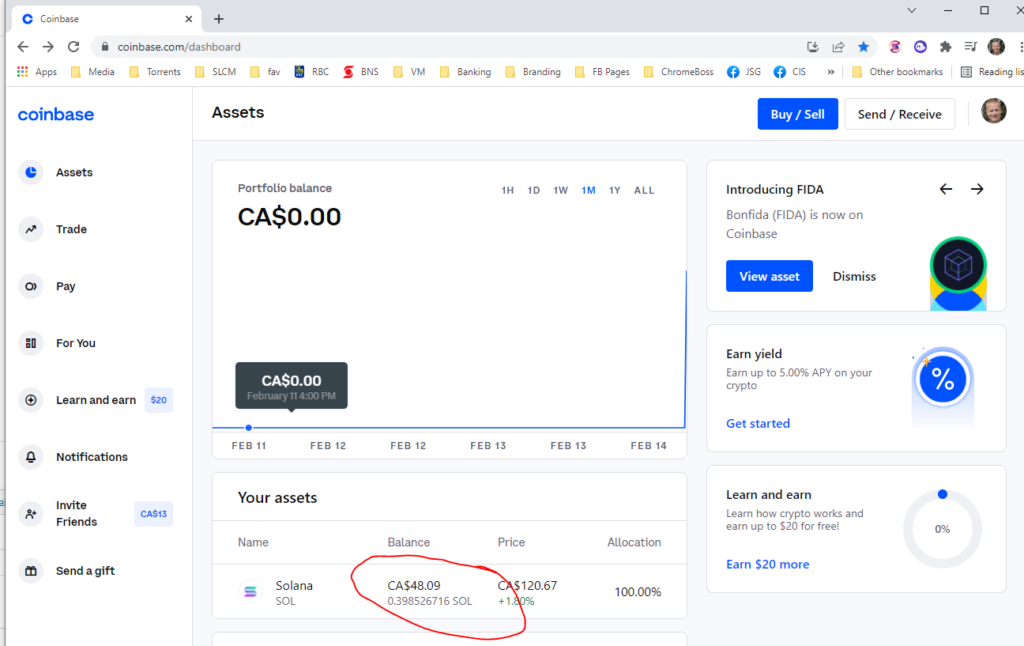
Click Send/Receive button.
Paste your wallet address in the To field.
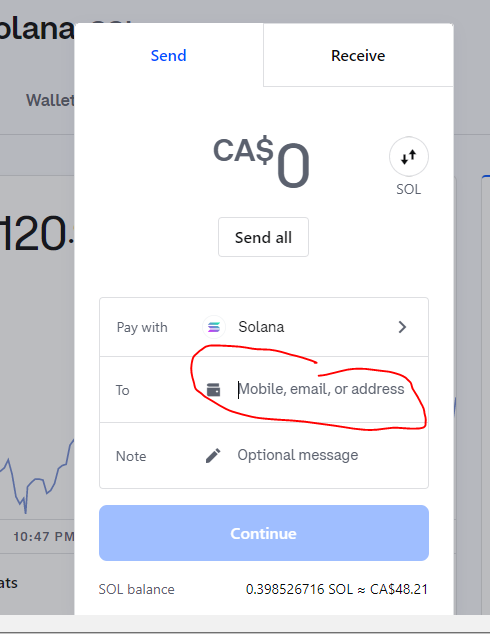
Click the Send all button (or enter lower amount).
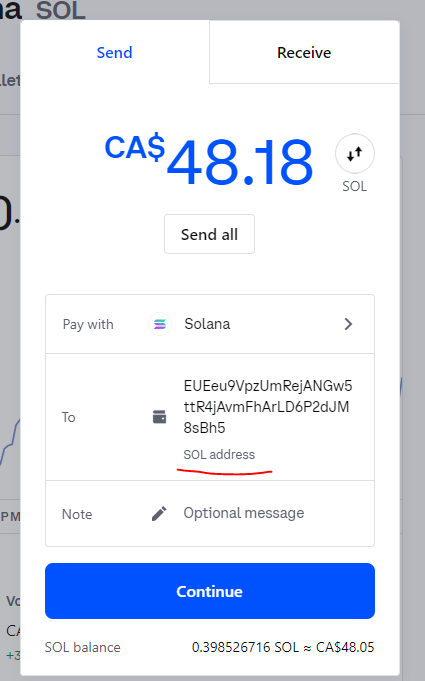
Make sure you see SOL address below the address and click the Continue button.
You’ll see a confirmation and you’ll need to click the Send now button.

Then enter code sent to your phone for confirmation.
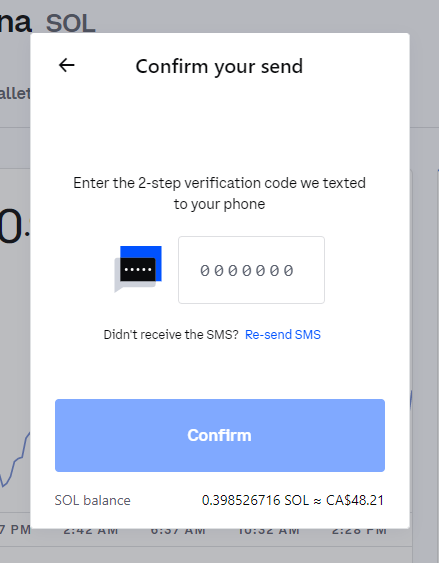
And lastly click Confirm after which you’ll then see it’s done.
And you can see your SOL in your Phantom wallet.
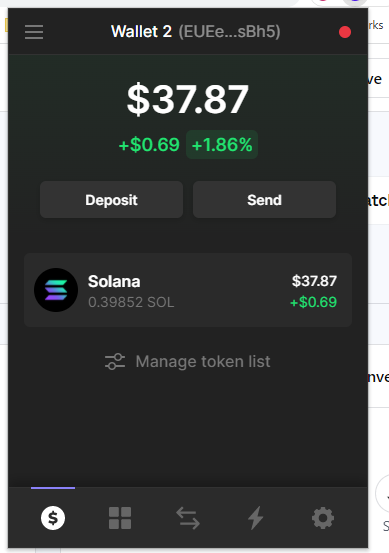
Of course, you’ll see quite a difference between how much you spent and the balance because of fees, so in this case, I spend $50CA and end up with $37.87US (which is about $48.17CA) so it cost me about $2 to buy and transfer.
Step 3: Buy your first NFT on Solsea
The last and most anticipated step.
Now that you have some SOL in your wallet, you can buy your first NFT!
First, go to Solsea.io and connect your wallet to setup your account.
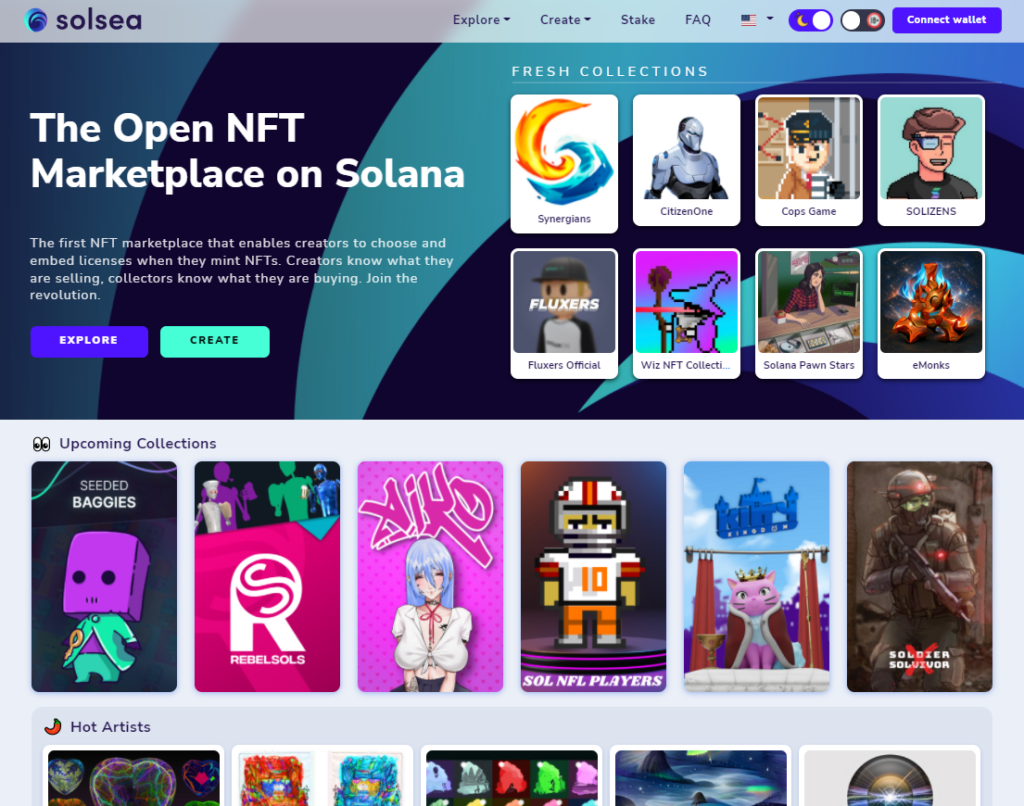
Click the Connect wallet on top right and then select Phantom

After the connection is made, you are now ready to buy an NFT.
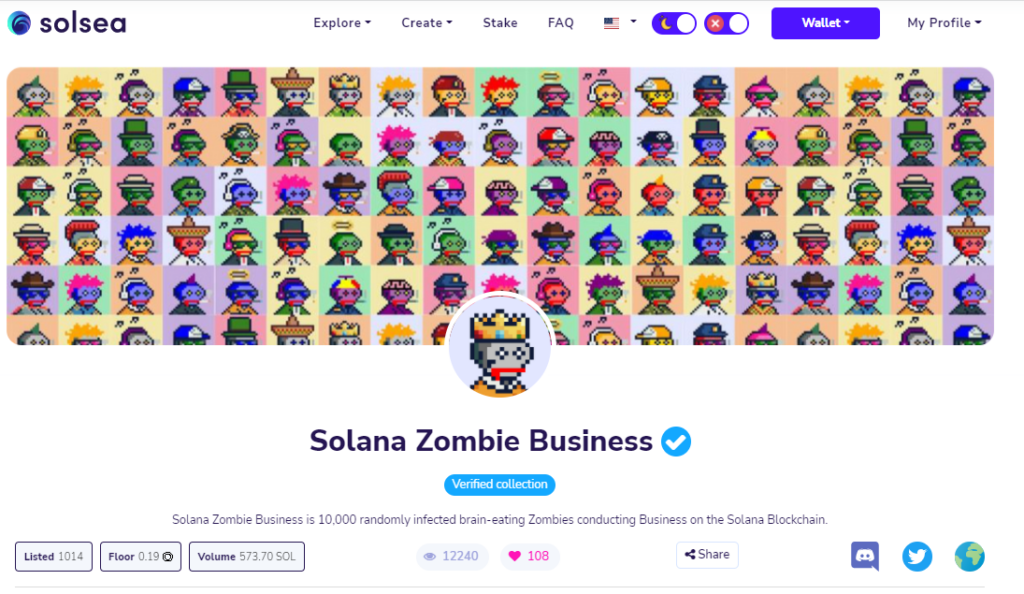
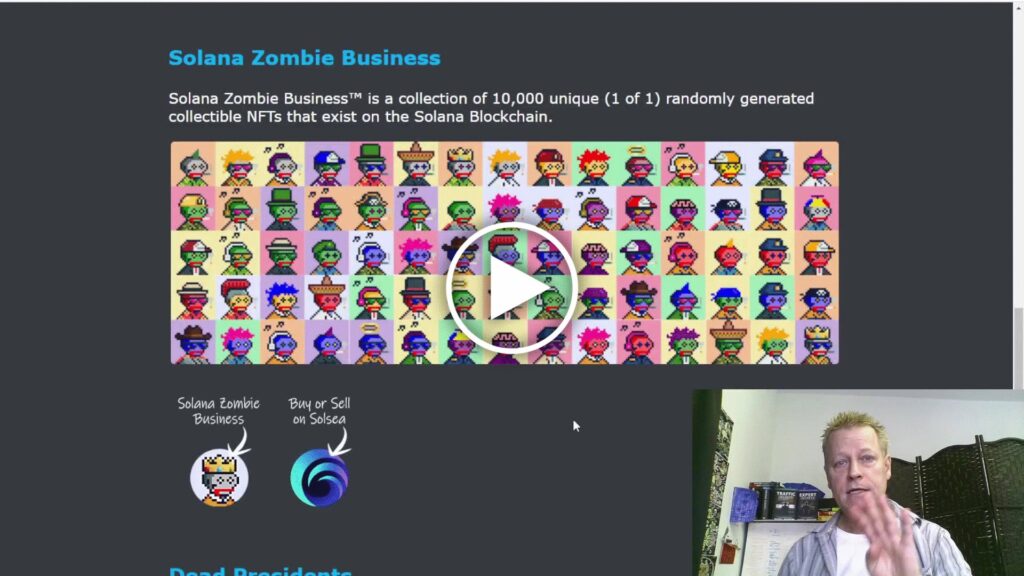
My first exposure to NFTs was with PHARTIST‘s collection called Solana Zombie Business which you can find at https://solsea.io/collection/61c8caa68f522faf65ac32b7.
I’m not saying you need to buy from that collection but I feel that it’s a collection and an NFT artist who is very good at marketing and it’s all about marketing.
No matter what NFT you choose to buy first, you need to find it and you’ll notice the Explore pull down on top of the menu.
Once you found an NFT you want to buy, click it to load up it’s details and click the Buy NFT button.

This will popup your wallet and you’ll need to approve the transaction.
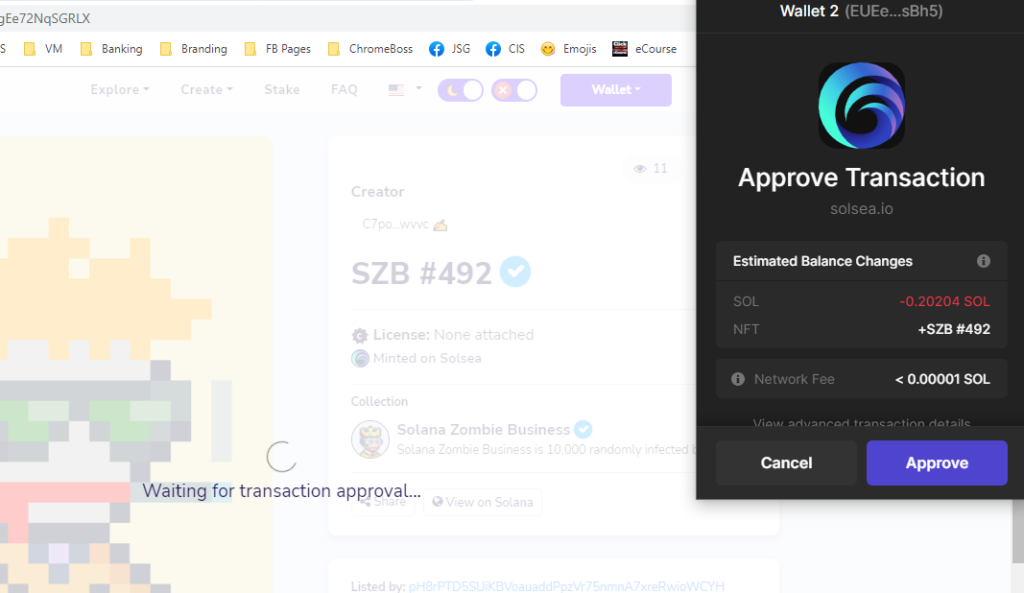
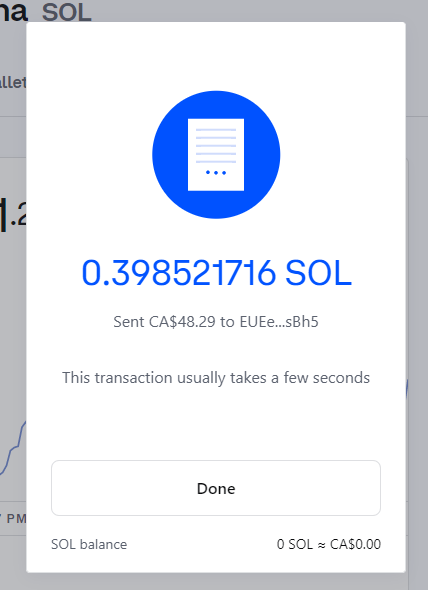
After a few moments, you should see this popup:

Woohoo! You now have your first NFT!
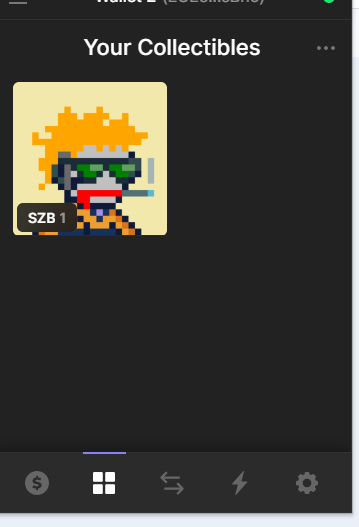
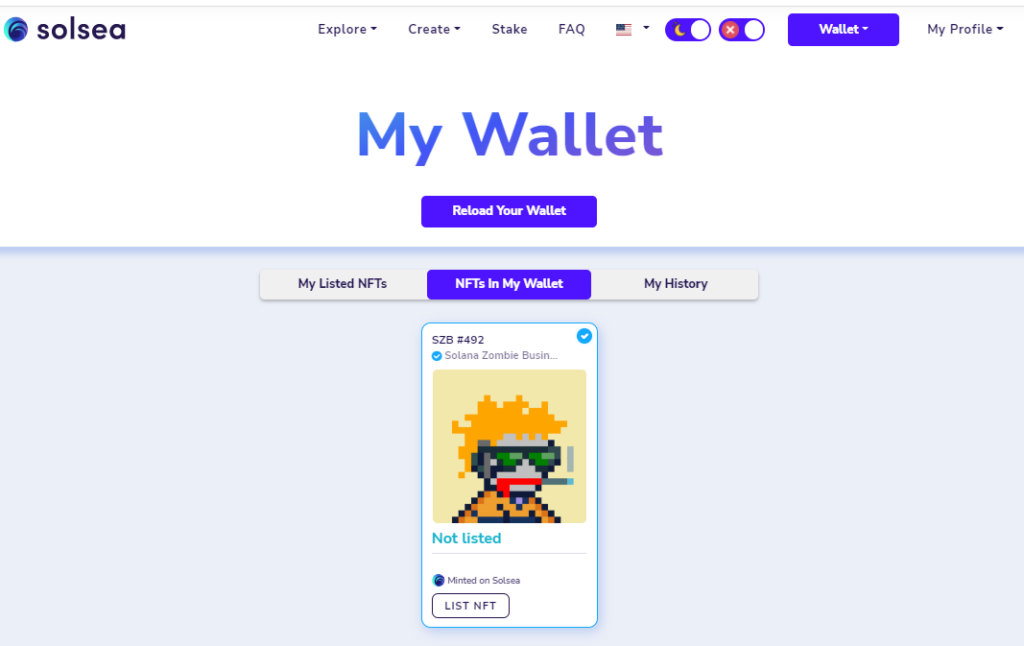
Click you wallet and the NFT tab.
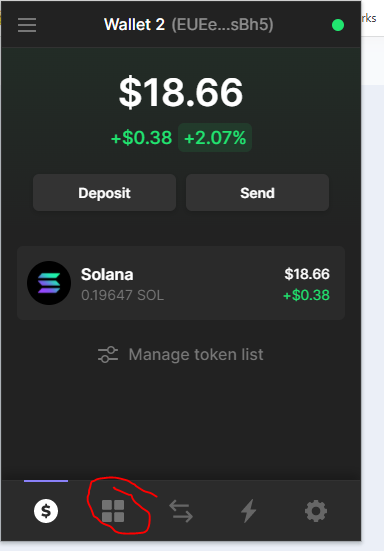
Where you will see your band new NFT
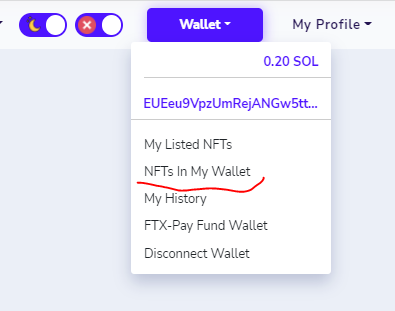
You can also see it in Solsea by navigating to the wallet and NFTs in wallet.
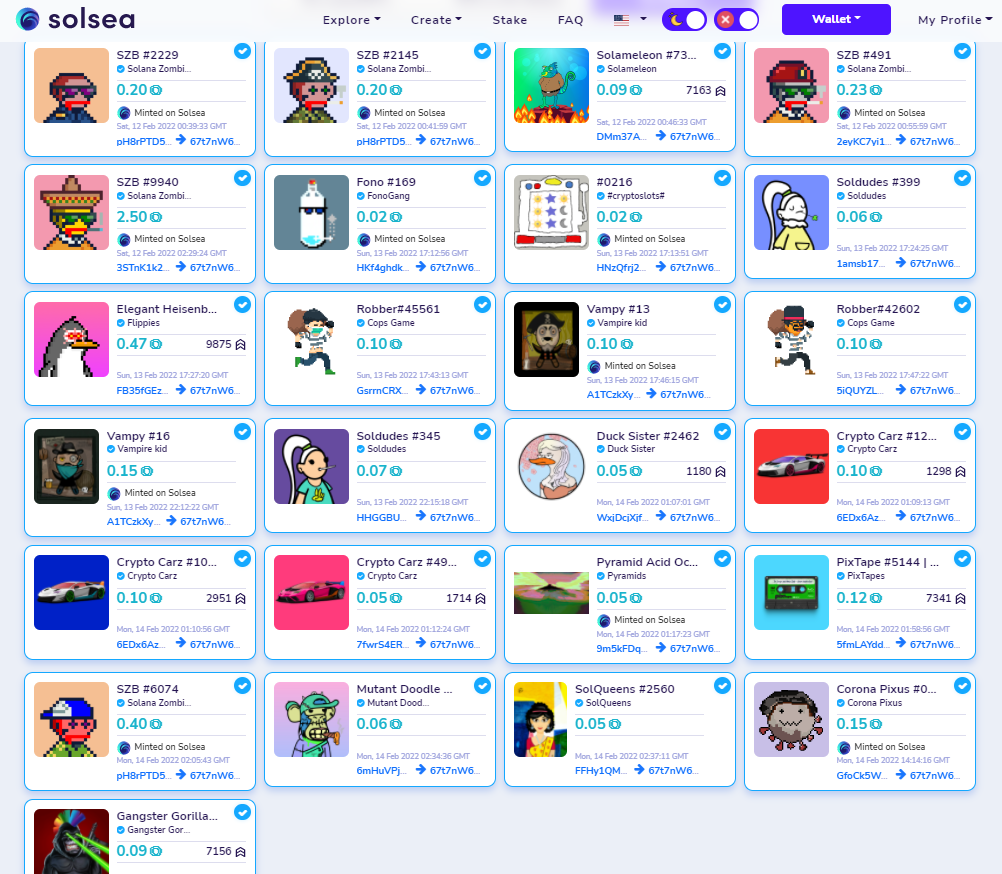
Also, you can see your transactions and this is what I’ve invested in so far – maybe by the time you read this post, I’ll have made some profits, who knows!
Conclusion
As you can see, I bought many NFTs below the 0.20 SOL – I chose them more or less randomly, but I did learn a few things that helped me decide.
I know that was a lot to take in so I won’t go any deeper into the topic for now, like rarity and how to tell the possible value of an NFT (I’m still learning anyway)
I’d certainly love to hear from you and your experiences with NFT, Solsea and Coinbase – or other NFT marketplaces.
You’ll want to watch the video too because I share some more insights not to mention my screen to make this even easier to follow along.
Share with your friends by clicking the social icons.
[…] https://jeansergegagnon.com/course-income-secrets-395—how-to-buy-your-first-nft-with-solana-an… […]