How to add Files to a Course that you can sell in 2023?
I’m sure you’ve seen your share of digital courses with videos only, I know I have but everyone learns differently.
It’s important to cater to those different types of learning experiences if you want to have more students in your course.
Personally, I love videos and audios which is why most of my courses are video only with the ability to download the audios from them.
BTW, did you know that on Click eCourse, you can setup your course so your students can download the audios from your videos?
What ways to students learn?
There are 5 different ways people learn, each of which has different importance levels depending on the person.
- Watching someone do something
- Listening to someone explain something
- Reading how to do something
- Writing notes on how to do something
- Teaching someone else how to do something
The top 2 learning methods are usually the one most people like but they’ll retain more if they also use the other methods.
This is why you need to add files to your courses.
What types of files should you add to your courses?
Most course hosting platforms allow you to add files to your courses.
With Click eCourse, you can add:
- Audio files (wav, au or mp3)
- Video files (if you do not want it as a lesson – such as bonus material)
- Text documents (word docs, notepad files)
- Images such as mind maps or photos
- Any other kind of file that your students can use in your course
The process is pretty simple, click the “add file” button and upload it.
How to add a File on Click eCourse platform?
To add a file to your Click eCourse course, first find your course by going to the “Courses” link in your account menu.
Click the icon on the top right with your profile picture.
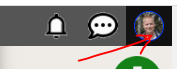
Then find the Courses link in the menu that shows up
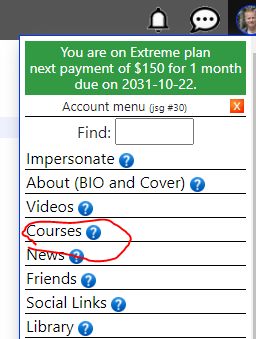
Then find your course from the list and click the image or link to go to the course.
You can then click the green + and select File to add new file
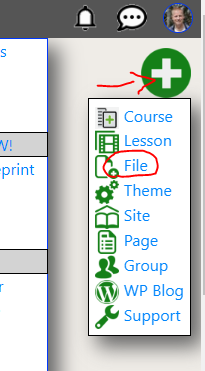
Which will show the form to add a new File.
Understanding the Add File form fields
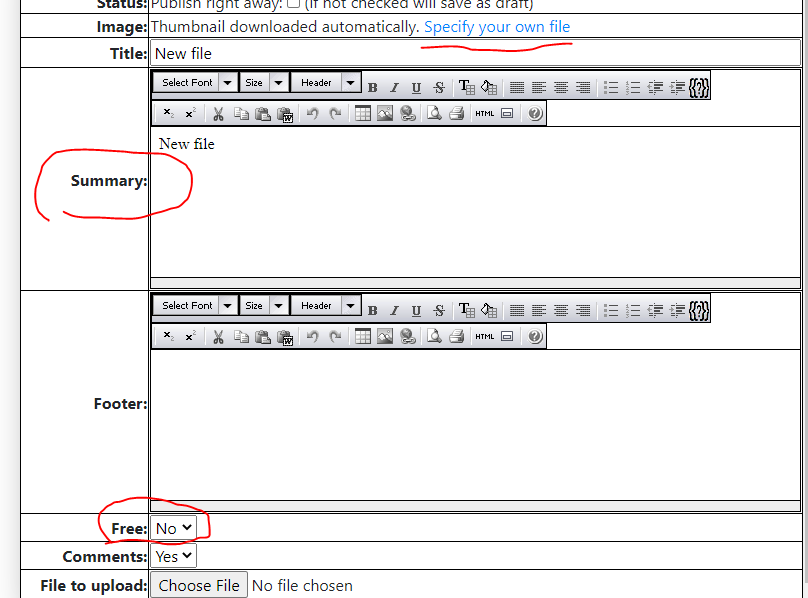
Once you’ve clicked on the Add File button, you’ll see the form with the fields.
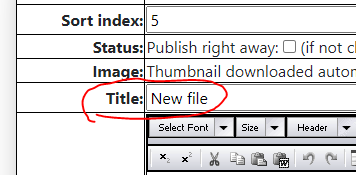
The bare minimum you need is to specify the title of your file
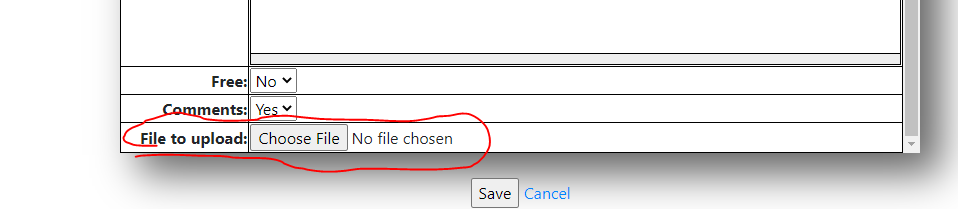
and the actual file to upload
A part from that, you can enter a summary of what the file is for, Specify a thumbnail for the file and decide if it’s accessible for free (otherwise they need to get course to access it)
Publishing the file
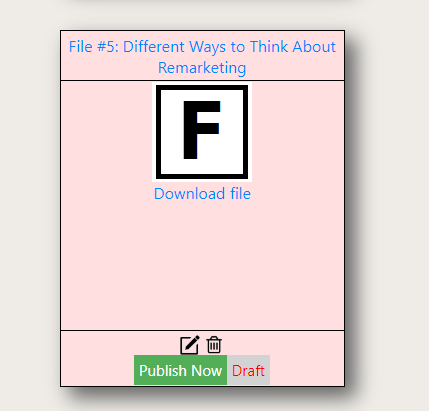
Once you’ve added the file, it doesn’t automatically become accessible to students.
If this is a course that was already purchased by students, they will not see the files until you publish them.
You just need to click on the Publish Now button on the file.
Of course, if no students have the course yet, it won’t make a difference to publish it now or later but this allows you to publish new content every week for example.
Conclusion
As you can see, you can add files to courses on Click eCourse pretty simply.
Of course you can create a very good and simply course without any files and just deliver everything in just videos, I’ve certainly created plenty of courses with just videos and many leaders do that too
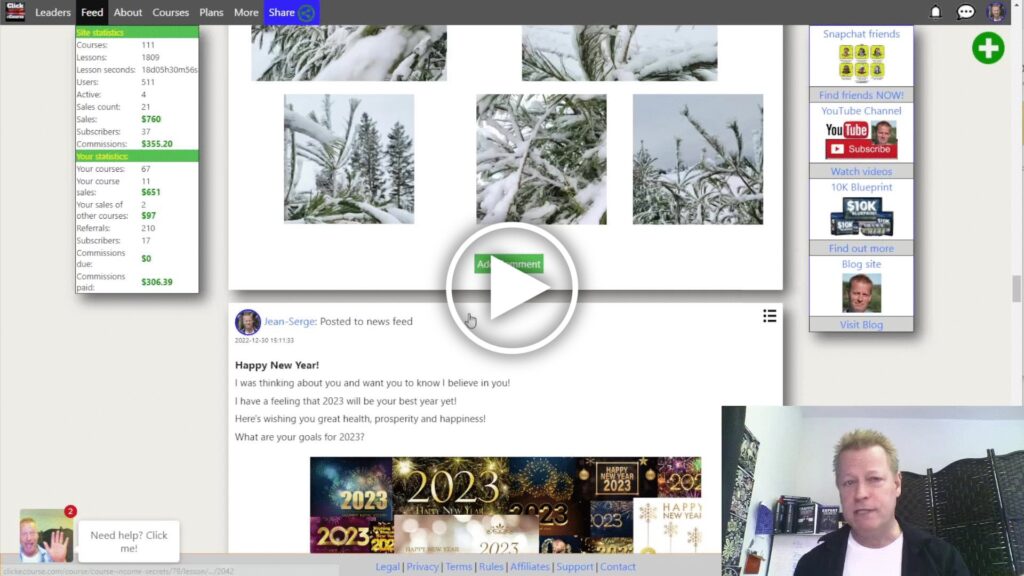
Watch the video to see exactly how to do this and a few more details on process.
Share this with your friends by clicking the social icons.