Where can YOU host and sell your OWN Online Course for Free?
How would you like to be able to host a course for free?
Say you’ve created a course with videos on YouTube, Vimeo or even Facebook, how will people find it?
Sure, you could just send an email, setup a playlist or just re-share it on those platforms.
But wouldn’t you like to take control of that, know who is watching and build a relationship with them?
Why host course on platform?
If you’re like many who want to avoid learning more platforms, you probably setup an email to send people links to your videos.
Or maybe, you’re just not bothering and you’re just posting on social media over and over hoping people will watch.
Truth is many see your posts and think to themselves that they’ll watch it later but when they remember, they can’t find it anymore.
That’s why you want a place where they can go and easily find it.
What platform should you post it on?
There are so many places to post your course, how do you choose?
Most platforms charge a fee to even host a course and charge you a hefty commission if you sell it.
What if there was a platform that let you host it for free and even didn’t charge a dime if you made money from your course?
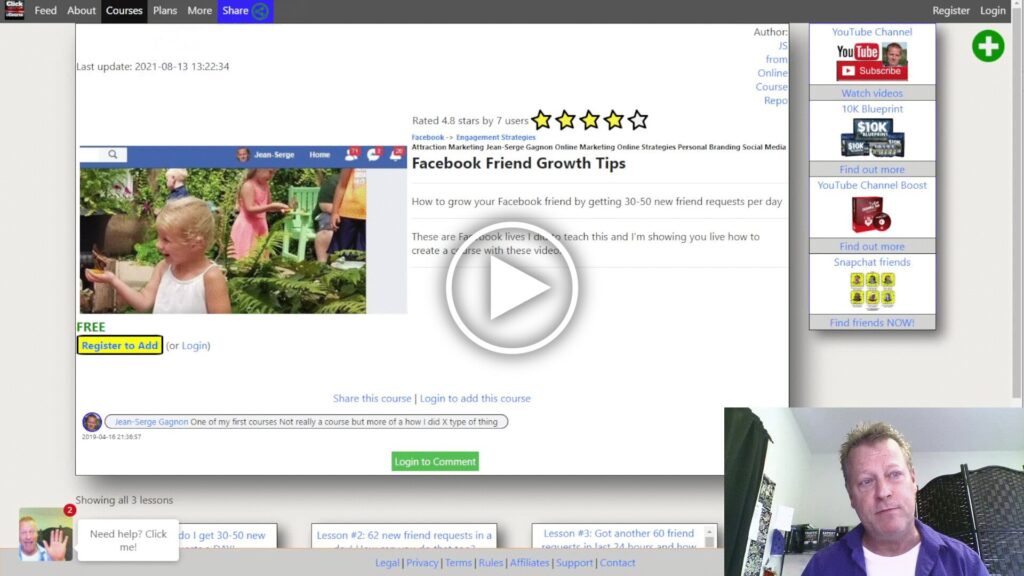
Well, you could just google it but I’ll save you the hassle and show you how to host it on Click eCourse (at https://clickecourse.com) for Free!
On Click eCourse, you can create course in seconds, add the videos you already posted on YouTube, Vimeo and even Facebook and then set a price for people to buy it.
You can even setup a commission for others to promote it for you!
Setting up your Click eCourse account
Before you can host a course on Click eCourse, you’ll need an account.
You can easily setup your free account by simply connecting to Facebook or if you prefer, register with an email and a password yourself.
After registering, you’ll get an email to activate your account.
Just click the link in that email to activate your account and you’re all set to create your course.
What other benefits do you get on Click eCourse?
In case you’re wondering why do through the hassle, here’s a few other great benefits to putting your course on Click eCourse platform.
- Your students can track where they are in your course.
- Your students can find your course easily in their library.
- Your students can resume the course on any of their devices.
- Your students (and others) can rate your course from 1 to 5 stars.
- Your students can post comments on the course or on lessons to give you feedback, ask questions or even answer questions from other students.
- Your students don’t need to dig through dozens of Facebook posts to find your lessons.
- Your students can watch and re-watch as many times as they want each lesson.
- You can see how many students you have and where they are in the course.
- You can send any of your students a private message to have conversation with them.
- You can send potential new students to easily checkout your course.
- You can give your course away for free or sell it for the price you want.
- You can setup deals and coupons on your course.
- You can give access to your course if you’d like for free even.
- You can even setup an advanced API key to grant students access to your course if they go through your funnel and buy the course – or as bonus to other purchases.
- and much more
Not to mention that the platform is a lot more than a course hosting platform with your own WordPress site, creating groups, your own links page and a content syndication engine.
Learn more about any of those other features by searching this blog for posts on those topics.
Creating your Course on platform
The process of creating your course on the platform is very simple.
Basically, the course is really just a container of the lessons.
All you need is a course title, summary, description and thumbnail image.
The you click the link to create a new course, enter that information and you’re set to add the lessons.
Sure, you could make it more complicated with modules but for a simple course with just video lessons, that’s all you need.
Adding lessons to your course
Just as simple as creating the course, so is adding lessons.
Just put in the link to the video on YouTube, Vimeo or Facebook and the lesson is added to the course!
Do that as many times as you have lessons and you’ll have all your lesson in the course.
After the lessons are added, you can edit their title, summary and details, re-organize them and even make some of them free to watch.
The last step is to publish the lessons and the course so other can actually see it.
Publishing your course
Once you are happy with the course title, details and with each lesson, you can publish your course.
Start by making sure each lesson is published – you’ll see if it’s not when it’s got a red background and show the button Publish or if the button save Make Draft.
Then edit your course and go to the access tab to set the course to pubished.
You have 4 published options:
- Public and visible to anyone, even people not logged in to platform.
- Public but only visible to people logged in to the platform.
- Private and only visible to students of your course.
- Unlisted but visible to anyone with the link.
That’s it, your course is ready to be promoted!
Conclusion
As you can see, creating a course on Click eCourse is pretty simple.
I’m sure these words can be helped with a visual of all this, so watch the video to see how to do all this live.
There’s a lot more about the platform and courses that could be covered so stay tuned for more and let me know of anything specific you’d like to learn more about.
As always, please share this blog post and video with your friends as you never know who this will help.