How to use Free LosslessCut to Easily create Course Lessons from long video?
Did you know that you can turn a Facebook live or Zoom recording into an online course easily?
If what you recorded is basically you teaching something, why not turn it into an online course?
It’s pretty simple to do and there are tons of options out there, one of which is LosslessCut, a free video editing software specifically for cutting out shorter videos from long ones.
You could just upload it to YouTube and use Studio to extract the pieces you want but if you want to do it right on your computer, LosslessCut is a great solution.
Where to get LosslessCut software?
I’m not sure how I found this tool but googling it reveals that there’s no official web site for it.
The software is a free open source tool which means it’s available to anyone for many platforms.
It also means that the source code is on a public host for anyone to see (and improve if they are geeky enough lol)
Because of that, the official home of it, is basically it’s readme file in the public repo.
In any case, you can find more details about it here: https://github.com/mifi/lossless-cut#readme
And you can find it in your app store or download it for:
- Windows at https://github.com/mifi/lossless-cut/releases/latest/download/LosslessCut-win-x64.7z
- MAC at https://github.com/mifi/lossless-cut/releases/latest/download/LosslessCut-mac-x64.dmg
- Linux at https://github.com/mifi/lossless-cut/releases/latest/download/LosslessCut-linux-x64.tar.bz2
How to load up your longer video into LosslessCut software?
Well, that’s pretty simple.
Just start up the software and you’ll see a big black box area to load your video in.
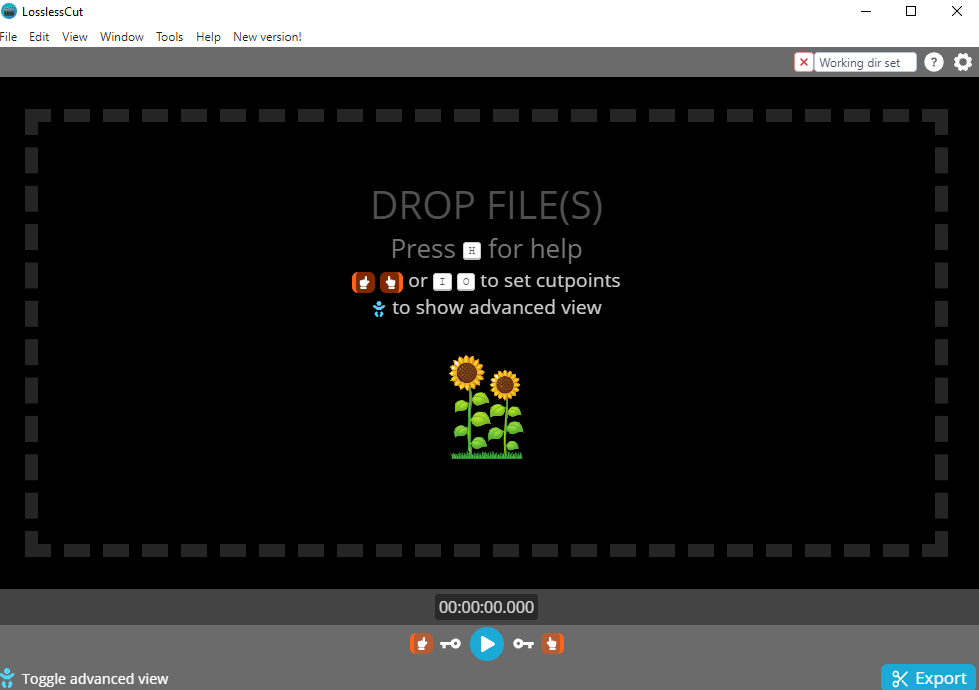
So all you need to do is open your folder where your full video is and drag it into that area.
Pretty simple, right?
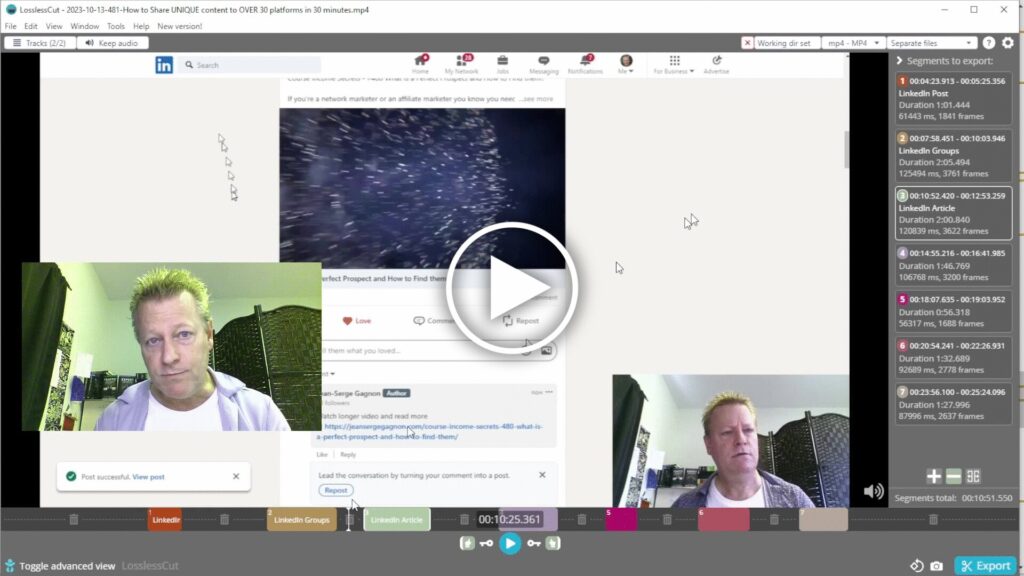
How to find the sections to extract?
The next step is to actually mark each segment you want to extract as a lesson.
Basically, you’ll notice the orange bar at the bottom of the video.
Just click along that bar until you find the beginning of the first less, then click the “begin segment” icon.

This will mark the beginning of your lesson.
Navigate to the end of it and click the “end segment” icon.

This will show that first segment in orange and the rest of the video timeline will show in gray.

Which will also automatically show it in the segment navigator on top right.

Keep doing that for each lesson you want to extract from the big video and eventually, you will have a different color segment for each lesson.

How to label your files before you export them?
You could just export the lessons to timestamped files at this point and that might be fine for you.
But, if you want to name them based on what they are so you don’t forget when you go back to this a month later, you can set that up before exporting.
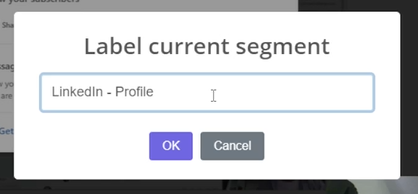
Right click on each segment in the section navigator and select Label segment.
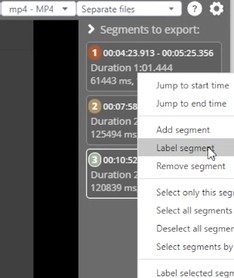
You can them label the segment so that when you export it, the label you chose will be use in the filename.
Exporting the lessons
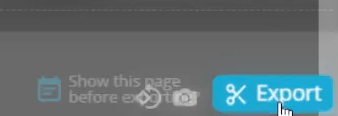
After you’ve labeled all the segments you are ready to export them.
It’s as simple as clicking the Export button.
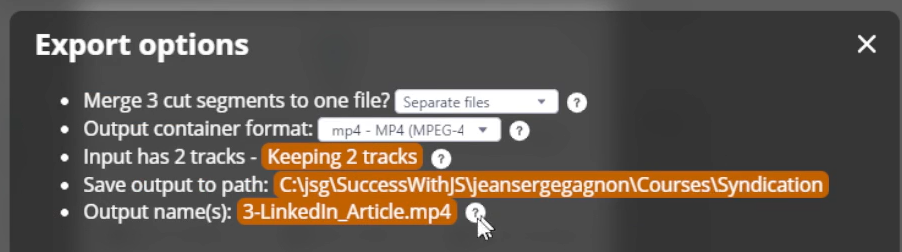
Which will popup the export options. All you need to change there potentially is where the files will get saved.
Conclusion
As you can see, LosslessCut is quite simple and it does what it does really well and easily.
It’s definitely my favorite video extraction tool although it can be used for other things.
Of course if you need more than trimming or extracting, you’ll need a different tool.
Check out the video to see more of this process.
And don’t forget to share by clicking the social icons.