How to Setup and Use Active Group Users Software?
So, you’ve been seeing a lot about Active Group Users software and want to try it out!
That’s great news and this blog post will help set it up in no time.
If you don’t have it yet, you can get it at https://ActiveGroupUsers.com and follow along here.
You’re on your way to being in control of your time on Facebook instead of randomly engaging on posts and spending hours and hours on the news feed every day!
With Active Group Users software, you’ll be able to get better result with just 30 minutes a day!
What are the simple steps to setup Active Group Users software?
If you’re not a techie like most of those who want a software like this, you’ll be happy to know how simple it it to setup.
Here are the steps:
- Add it to your browser
- Register a free account
- Add the groups you want
- Run your first scrape
After that, it’s just a matter of using the list of least if gives you and spend only 30 minutes a day on Facebook!
Even though these steps are really simple, let’s get them explained clearly.
Step 1: Add Active Group Users to your browser
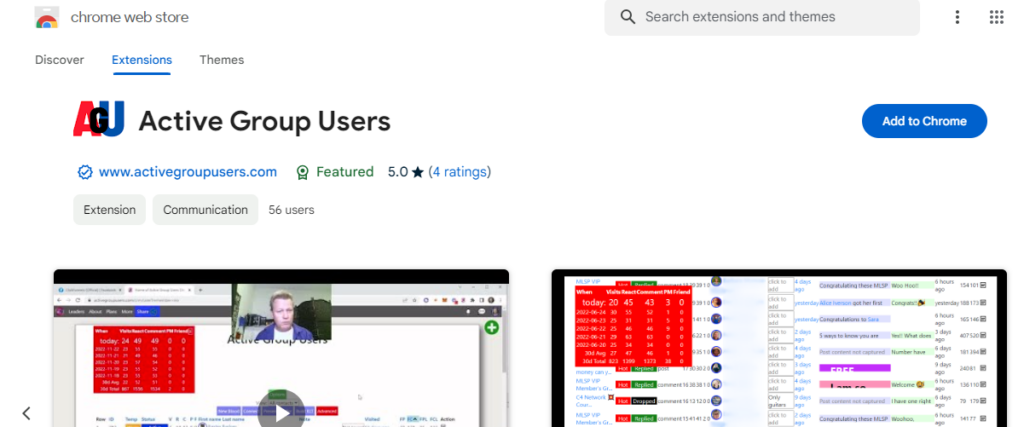
Go to the google chrome store and fine Active Group Users.
Just visit https://chromewebstore.google.com/category/extensions and put active group users in the search box.
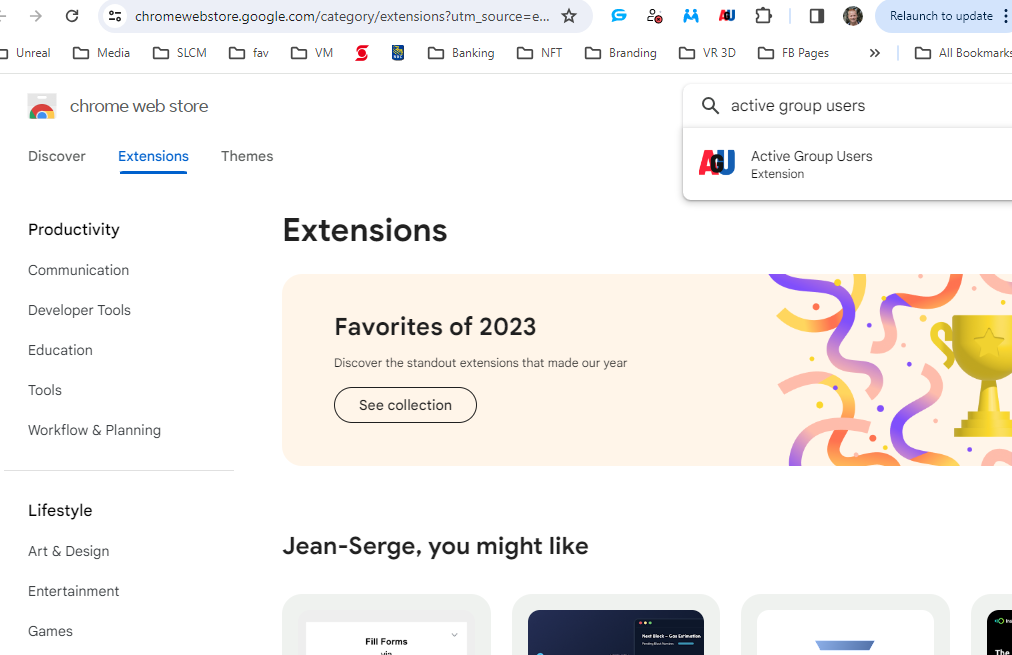
You can then click on the extension it found and click on the Add to Chrome button.
Or you could just go to https://download.ActiveGroupUsers.com.
You will then be shown a popup asking you to approve permissions on which you click the Add extension button again.
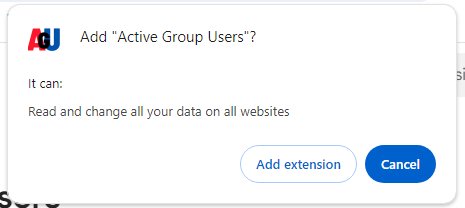
Note that the extension requires the “Read and change all your data on all websites” access to take screenshots – crazy, I know, it’s just how google chrome does it – this might improve in future.
Step 2: Register your free account
Now that you have installed the Active Group Users software in chrome, it needs to be able to save the data it captures for you.
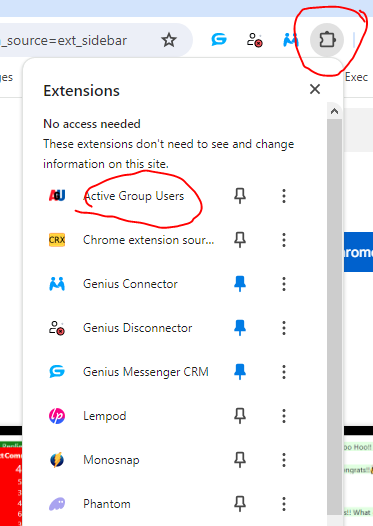
Click on the extension in the puzzle pulldown to open it up.
Next click the green Setup free account here button.
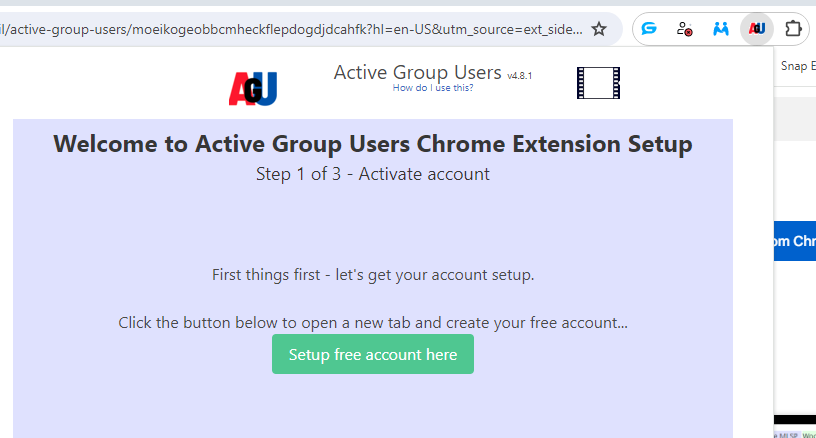
This will open up the web site where you can enter your email and password.
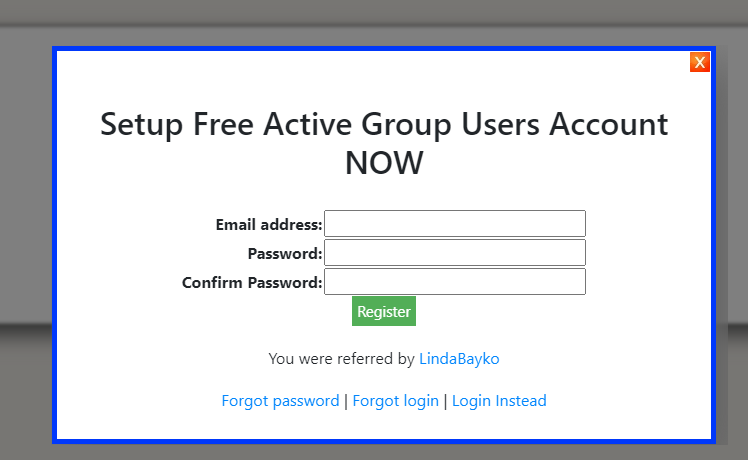
Enter that and you will see a message indicating an activation link was sent to your email.
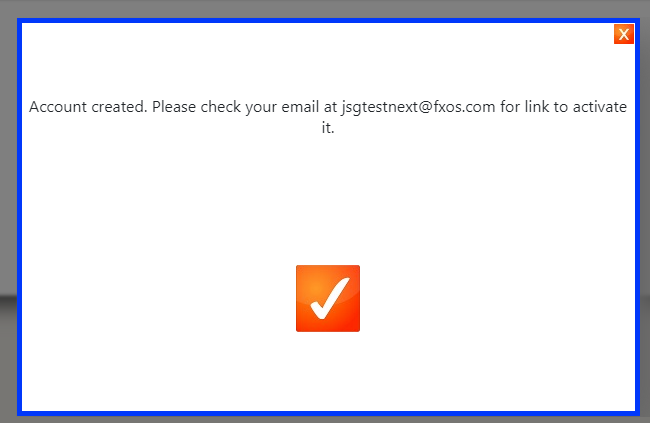
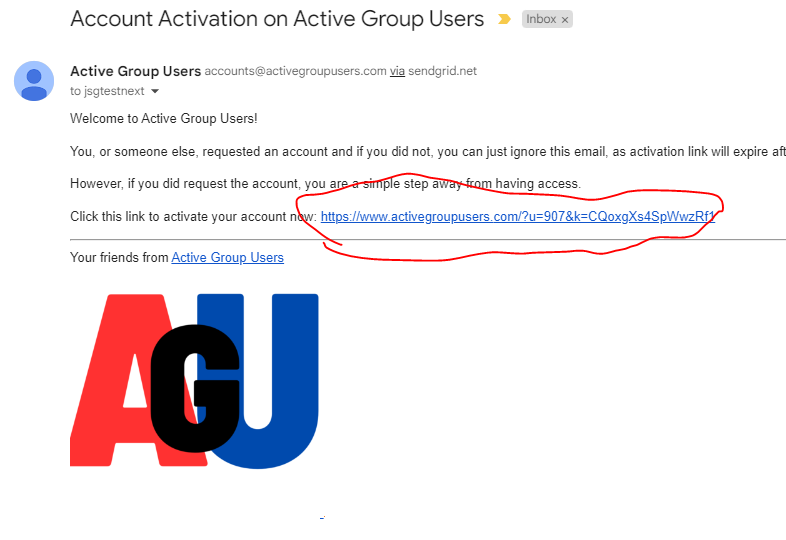
Now go to your inbox and find the new email from Active Group Users and click the link in the email to activate account.
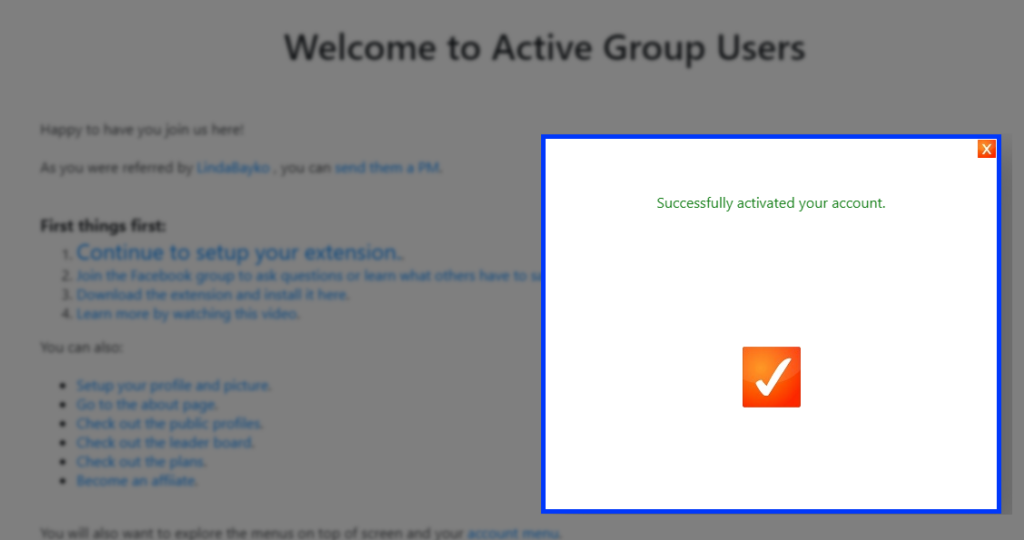
Which will activate your account and show you a confirmation. Just click the checkmark to close the popup.
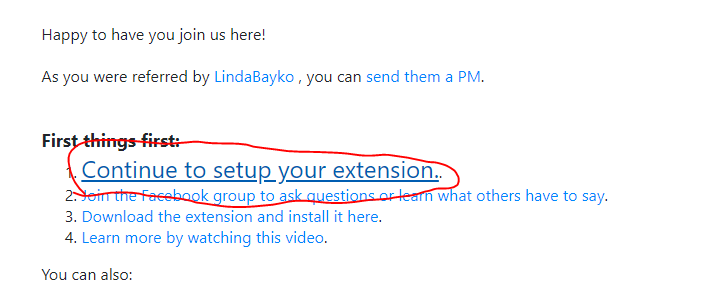
Click the Continue to setup your extension link.
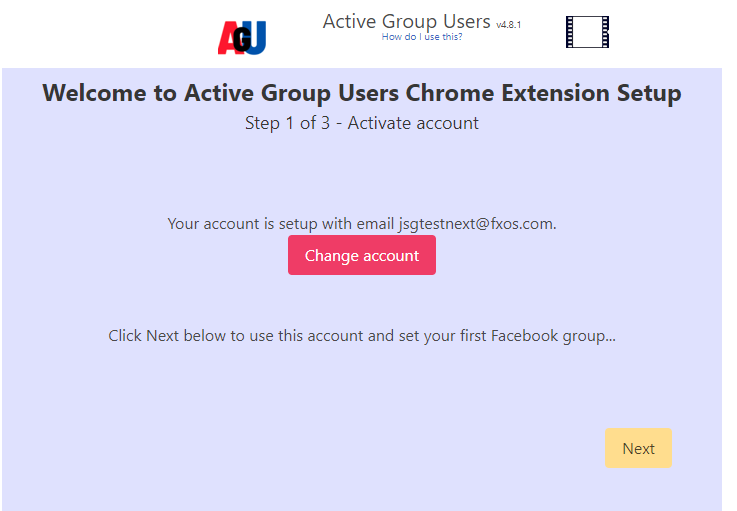
Which will show you that the next step is to open the extension again. When you do that, you’ll see a confirmation that your account is connected and you can click on the yellow Next button.
Step 3: Add the groups you want
It’s time to add the Facebook groups you want and you need to put in the first group now.
Open another tab and go to Facebook to find a group.
Once you’re in that group, click the extension icon again and that group will be added for you.
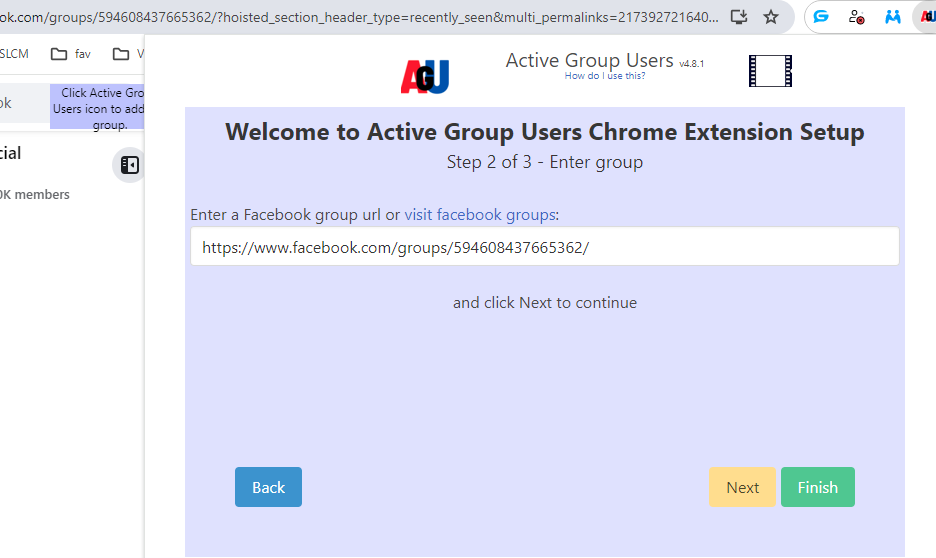
Click on Finish
After that, you’ll be able to add more groups by visiting them and clicking the little blue Add to AGU button that shows up.
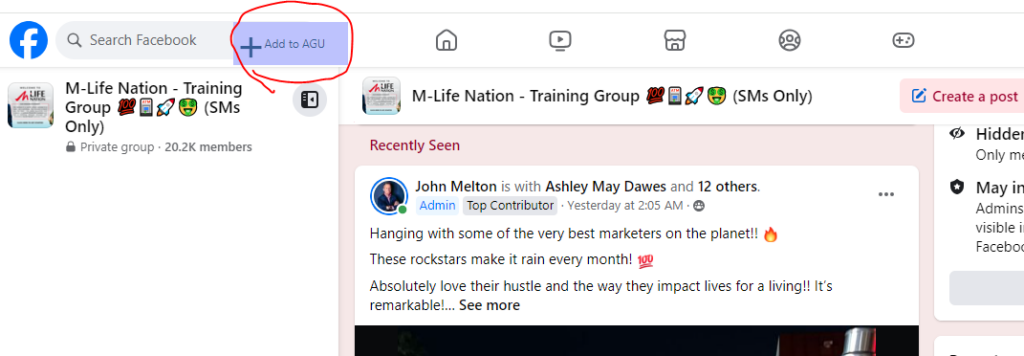
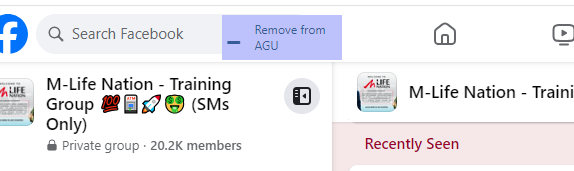
If a group is already in your list, the button will change to Remove from AGU.
Note that if you try to add more groups than you are allowed, a popup will tell you.
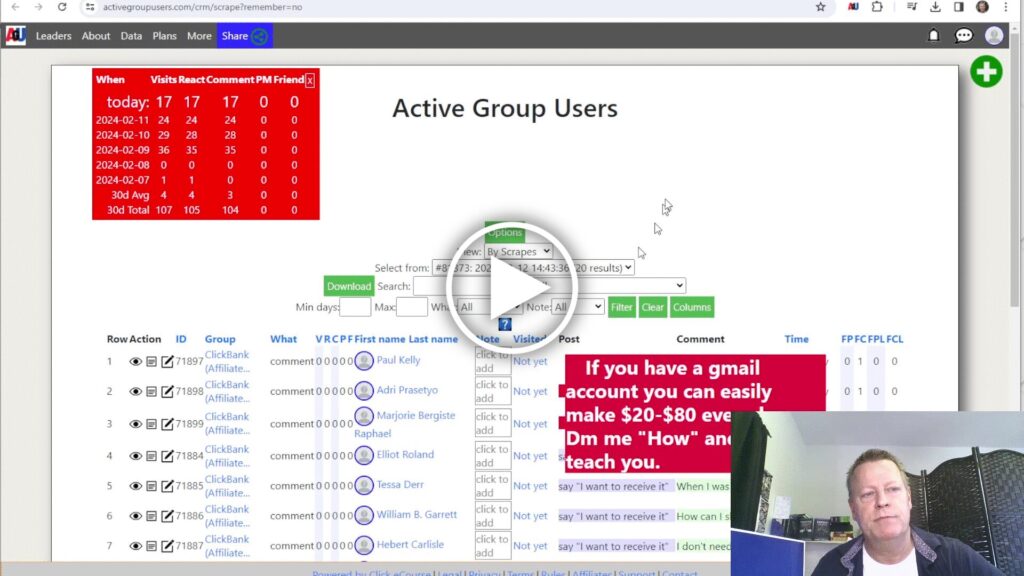
Step 4: Run your first scrape
You’re ready to capture your list of leads!
The process of scraping involves the software opening a new window and starting to visit those groups to look at the posts and the comments on them.
That gives you a list of the people who are posting and those who are commenting.
To start the process, open the extension and click the Start button.
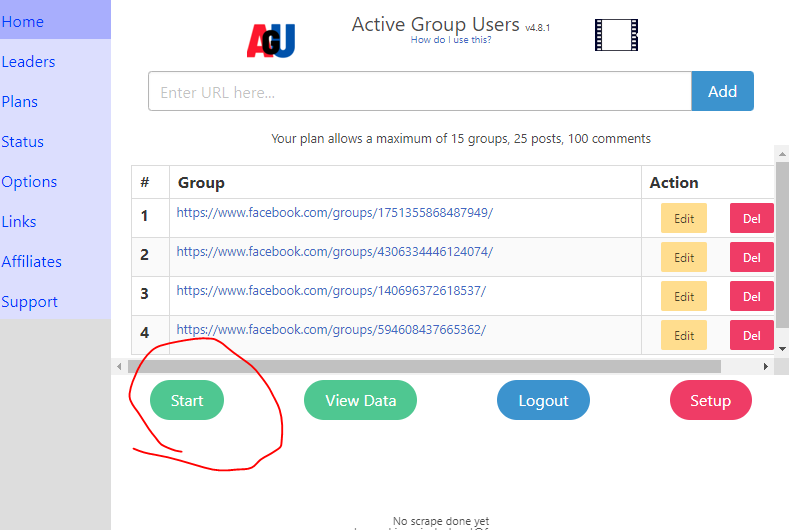
This will open up a new window and start the process.
You must leave that window alone and very likely not use your computer during that time as it may interfere with the process.
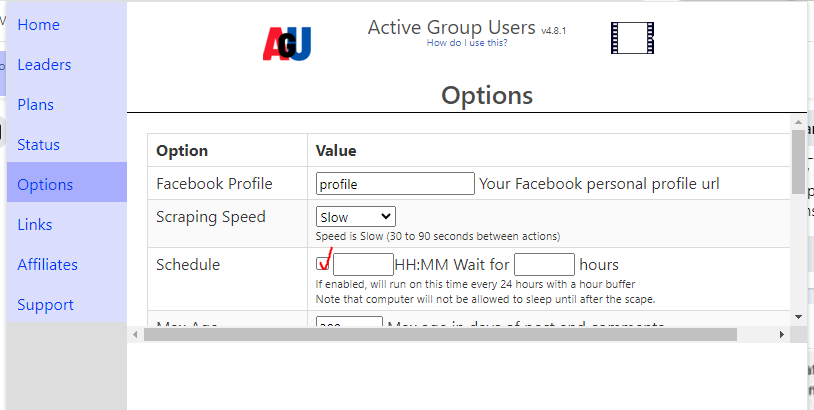
If you prefer, you can setup a schedule to run at night – you just need to leave your computer powered on at night.
Click on options, enable schedule and put in a time – like 23:00 for 11pm or 02:00 for 2 am.
Conclusion
As you can see, it’s quite simple to setup.
There may seem to be many steps in this detailed post but I just took lots of screen shots to show you what the steps are.
You will want to watch the video too as I do show the process and explain a few other things.
Let you friends know about this (we have affiliate program with 50% commissions) by sharing this post with them.