How to add AGI AI Chat Bot to your Website or Funnel page?
Have you heard of the newest generation of Chat Bots that can practically read your mind?
That’s right, with the advent of ChatGPT, there has been tons of new things you can do online now.
One of those things is called training and we don’t hear much about because it’s usually reserved for programmers and geeks.
Not anymore! You can now teach your very own Chat Bot whatever you want to teach it!
It’s really, I mean, really, really cool! I wish I could spend tons of time giving you examples but let’s get to the topic of this post at hand…
What is a web site chat bot?
You probably already know about these, they are everywhere and usually are answered by real people.
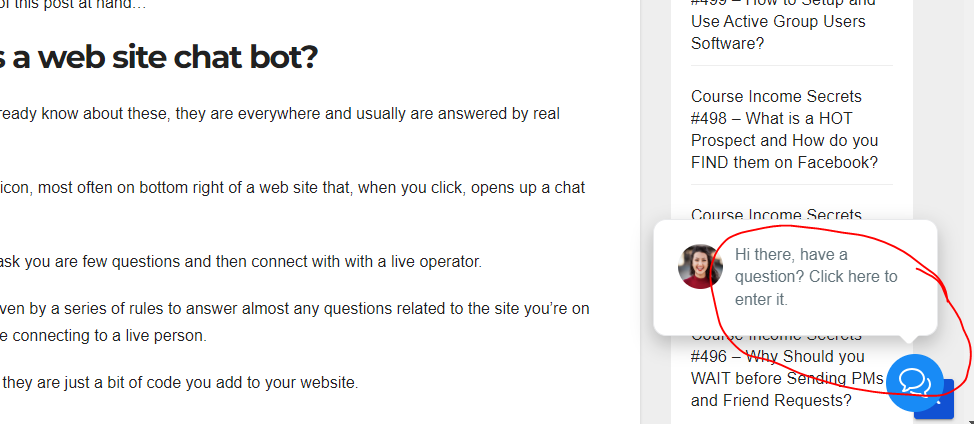
It’s a small little icon, most often on bottom right of a web site that, when you click, opens up a chat box.
Typically, it will ask you are few questions and then connect with with a live operator.
Some are all driven by a series of rules to answer almost any questions related to the site you’re on and don’t include connecting to a live person.
But, essentially, they are just a bit of code you add to your website.
What is the AGI AI Chat bot?
As the name implies, it’s an AI, or artificial intelligent chat bot which means, it sorta thinks for itself.
It is a ChatGPT enabled chat bot from MyGeniusLeads tool set and runs in a Go High Level environment.
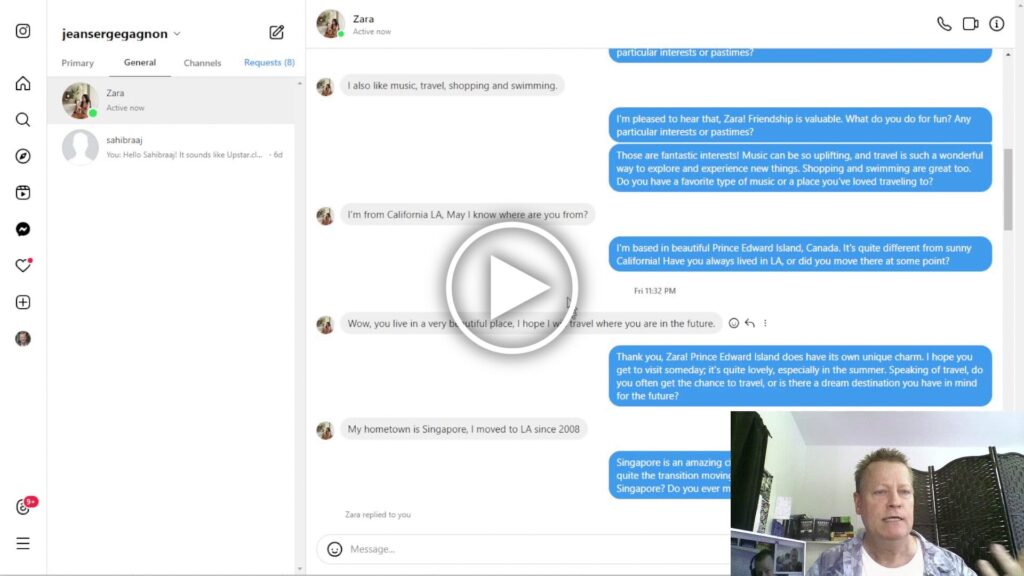
It’s really quite amazing, I had someone on my web site ask about a booking a trip to Disneyland Paris and it gave them a really good and detailed explanation.
To be clear, I do not sell trips and I did not instruct my bot to answer a question like that.
If my bot with just a traditional chat bot, it would have just said it couldn’t help them.
With the AGI AI Chat bot (learn more at https://agi.jsgagnon.com), you tell it all about your business and the personality you want it to have, as well as goals you want it to achieve and it will carry out those instructions as well, if not better, than a human.
How to get your AGI AI Chat Bot?
The first thing you’ll need is a MyGeniusLeads account which you can get from the person who sent you this page or from my link at https://mgl.jsgagnon.com/.
Once you have your account, you’ll need to purchase on the of the packages with the AI component included.
Just click on the Purchase Products and choose the one you feel is right for you.
Once your account is activated, you are ready to create your AGI AI Chat Bot.
How to create your AGI AI Chat Bot?
Before you can add your AGI AI Chat Bot to your web site or your funnel, you’ll need to create it.
Don’t worry, it not a super complicated process but I’ll send you over to my other blog post for details.
Essentially, you:
- Create the training data – this is the brain, where you teach it about your business.
- Create the assistant – give it a name, a personality and connect it’s brain.
- Deploy the AGI AI Chat bot – essentially, just tag it so we can references it later.
See more about this at Course Income Secrets #500 – How to Use and Train Self Learning Chat VA to Qualify Prospects BEFORE you talk to them? or https://cis500.jsgagnon.com
Next steps to connect your AGI AI Chat Bot to your web site or funnel.
After creating your AGI AI Chat Bot and telling it how you want it to talk, you need to do the following:
- Create a workflow in back office.
- Configure the Chat Bot Widget in your back office.
- Copy the code to your web site (or funnel page)
That’s really all that’s involved.
One thing I really like about this Chat Bot is that it actually remembers you if you walk away so you can continue the conversation.
It just drives me bonkers that those support chats on typical web sites close the chat and you can’t even scroll up to see it anymore if you want away and forget you’re talking to someone!
Step 1: Create a workflow
A workflow is a set of actions to take when an event occurs.
What we want to do here is trigger the AGI AI Chat Bot to answer our prospect when they send a message in the chat widget on your website.
So, the event will be receiving a message from the chat bot widget.
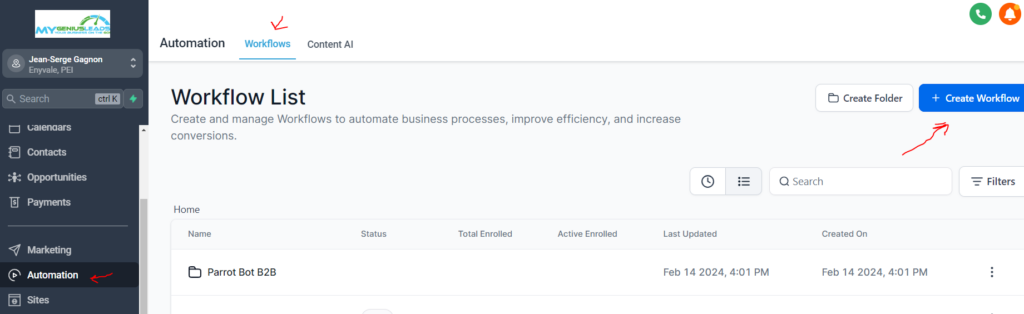
Go to the Automation page and select Workflows and click on Create workflow button
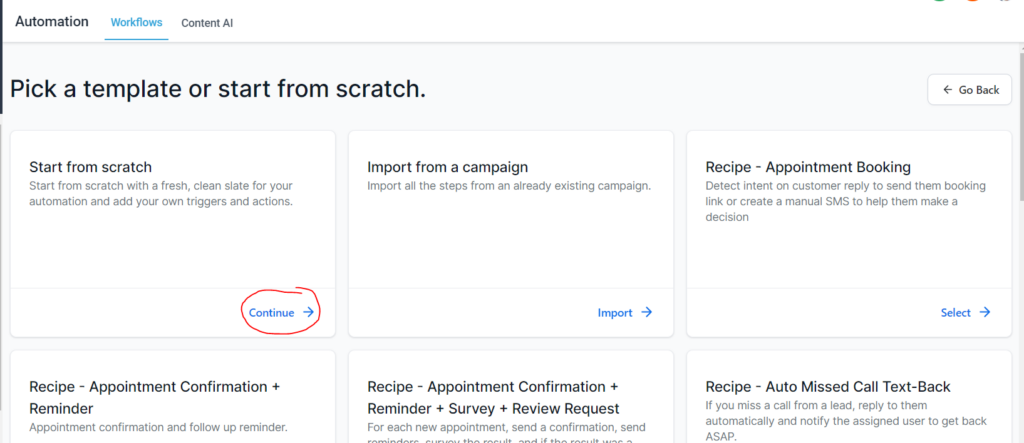
Click on Continue in the Start from Scratch option.
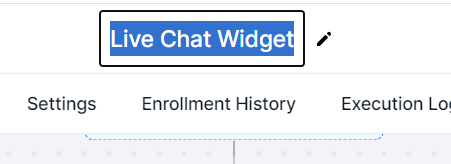
Give your workflow a name
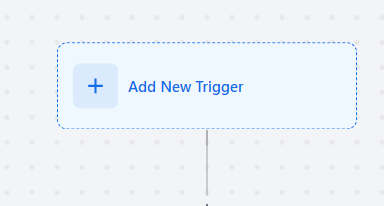
Then click on Add New Trigger button.
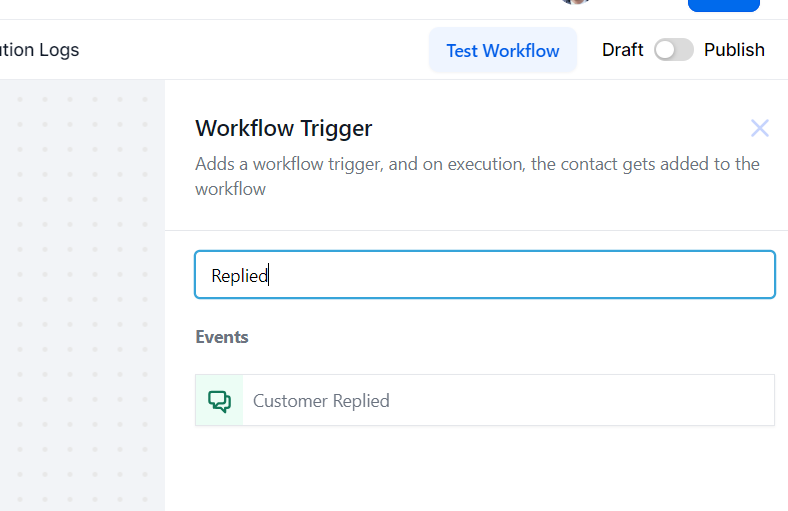
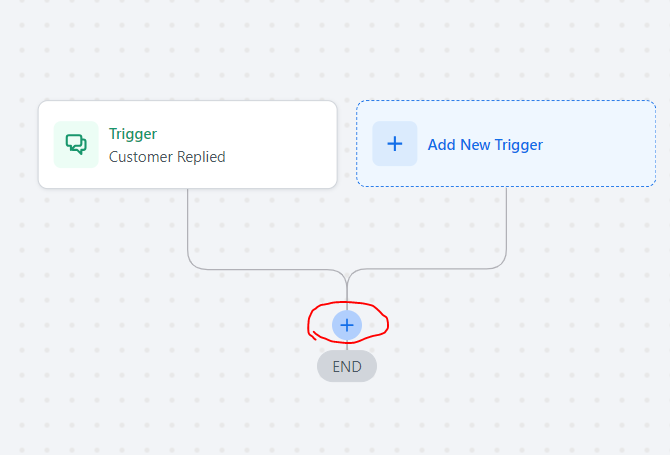
Enter Replied in the search box and click on the Customer Replied event
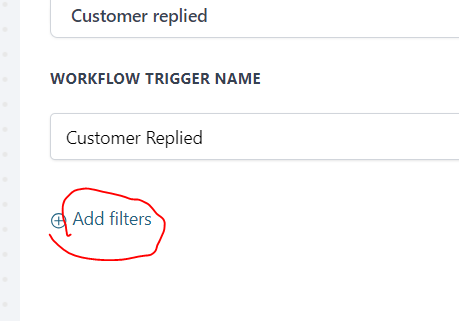
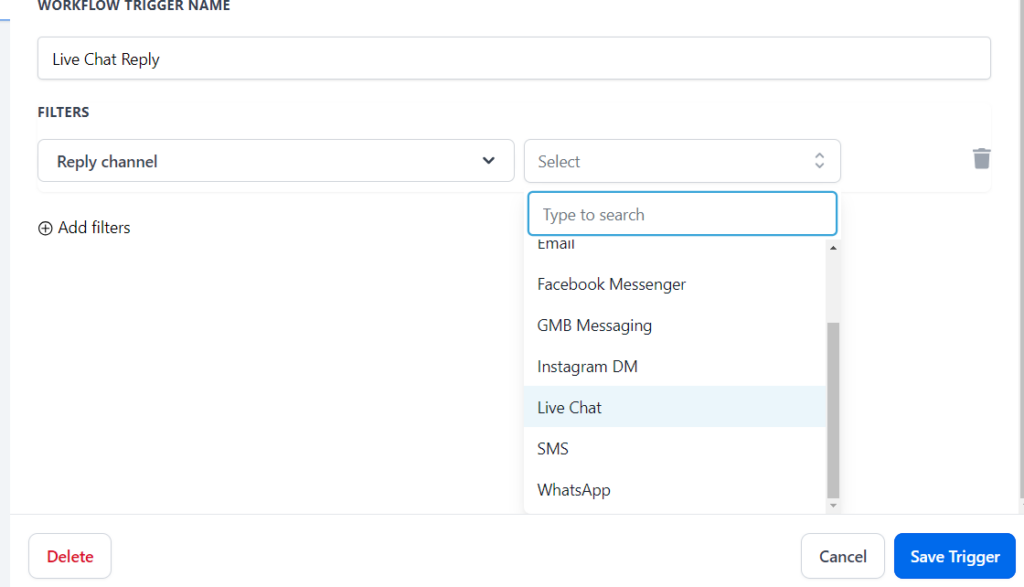
Next click on Add filters.
Type channel and choose Reply channel.
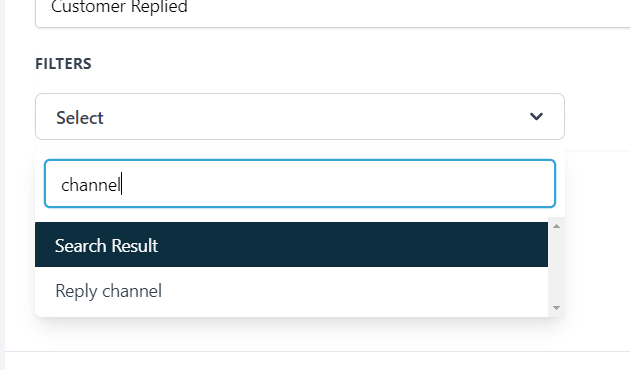
Under filters, with Reply channel selected, choose Live Chat as the value and then click Save Trigger button.
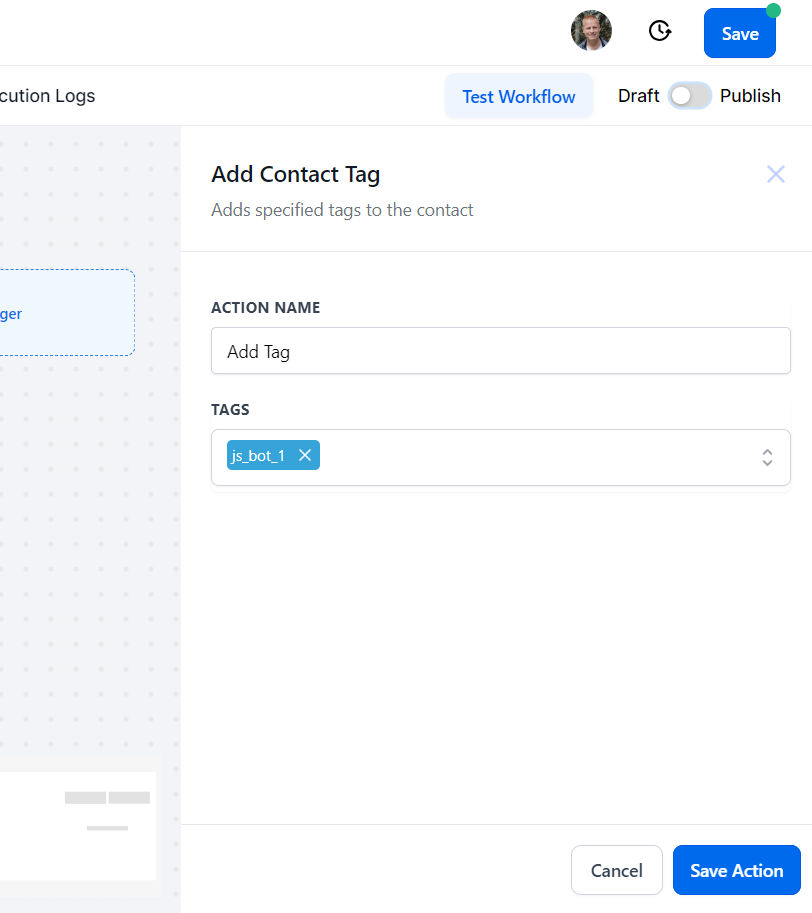
Next, add the action by clicking the little + to find your action to add.
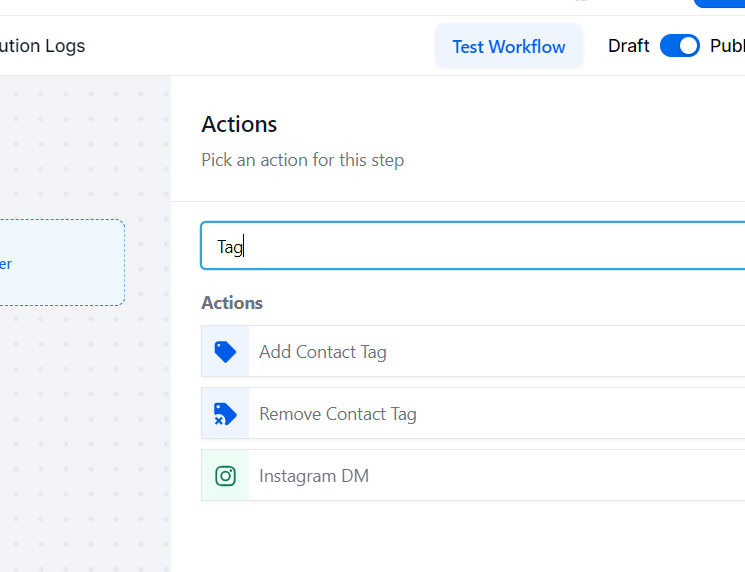
In the search box, enter Tag and then select Add Contact Tag.
Next, click the Select a tag and start typing to find your assistant tag and click it to add it.
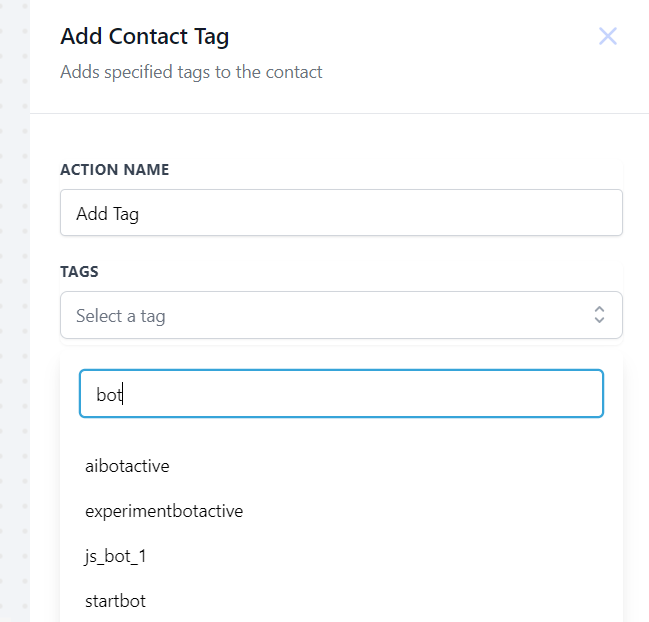
Save the action
Publish it and save it.
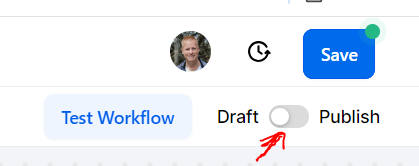
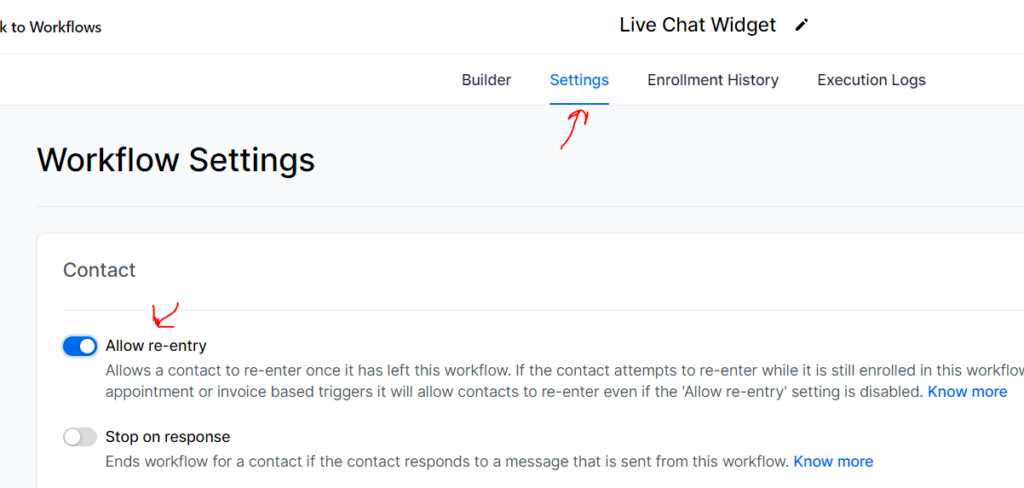
Lastly, enable re-entry. Click on Settings, enable Allow re-entry option and save workflow.
Step 2: Configure the Chat Bot Widget
In your back office, go to the Sites page and click on the Chat Widget tab.
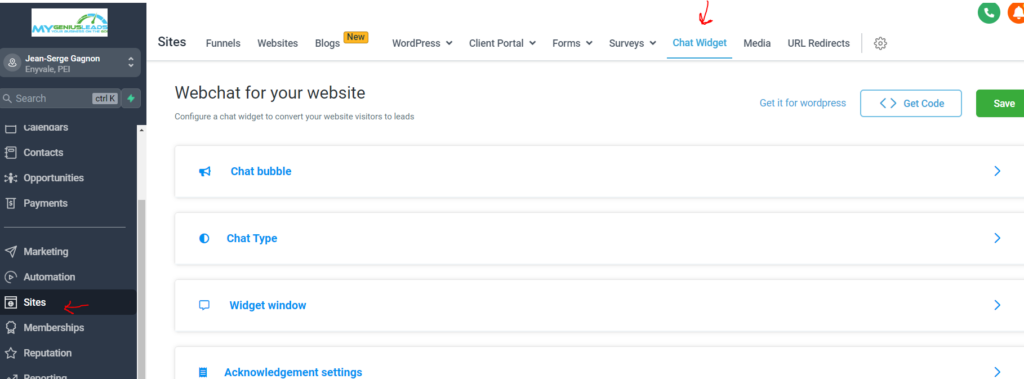
Once there, open Chat Type and make sure it’s set to Live chat.
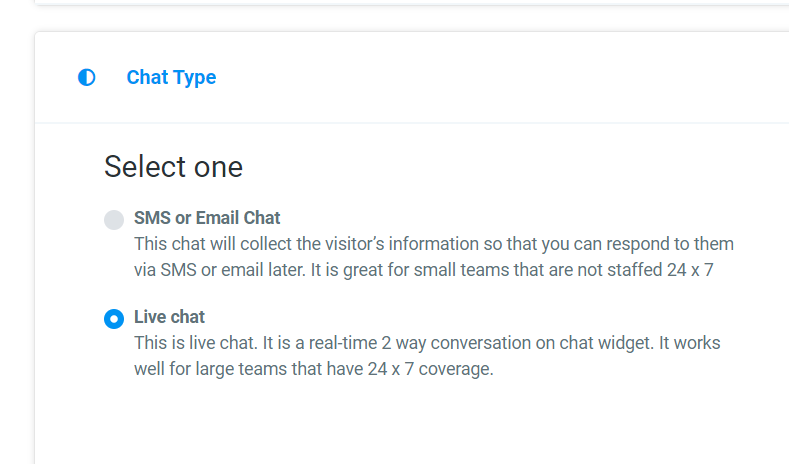
You can check all the other settings and make changes as you wish.
Lastly, click on Save button to save your settings and then get the code by clicking the <> Get Code button.

Note, that you can use this method for WordPress as well, of you can choose to click the Get it for wordpress link to setup the plugin on your site but I don’t show that in the video recording.
Step 3: Copy the code to your web site or funnel page
Depending of your web site or funnel builder, the way to add the chat widget code to it will differ.
For example, in the GHL funnel builder, you’ll need to add a code element.
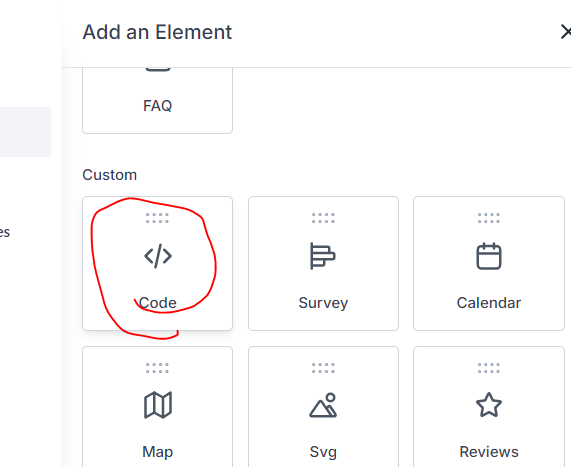
Then after adding it to your page, click it and click on Open Code Editor button.
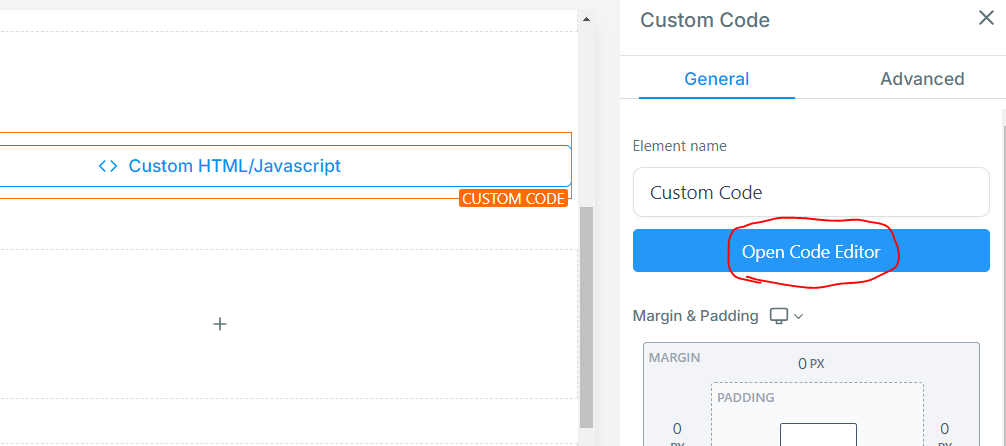
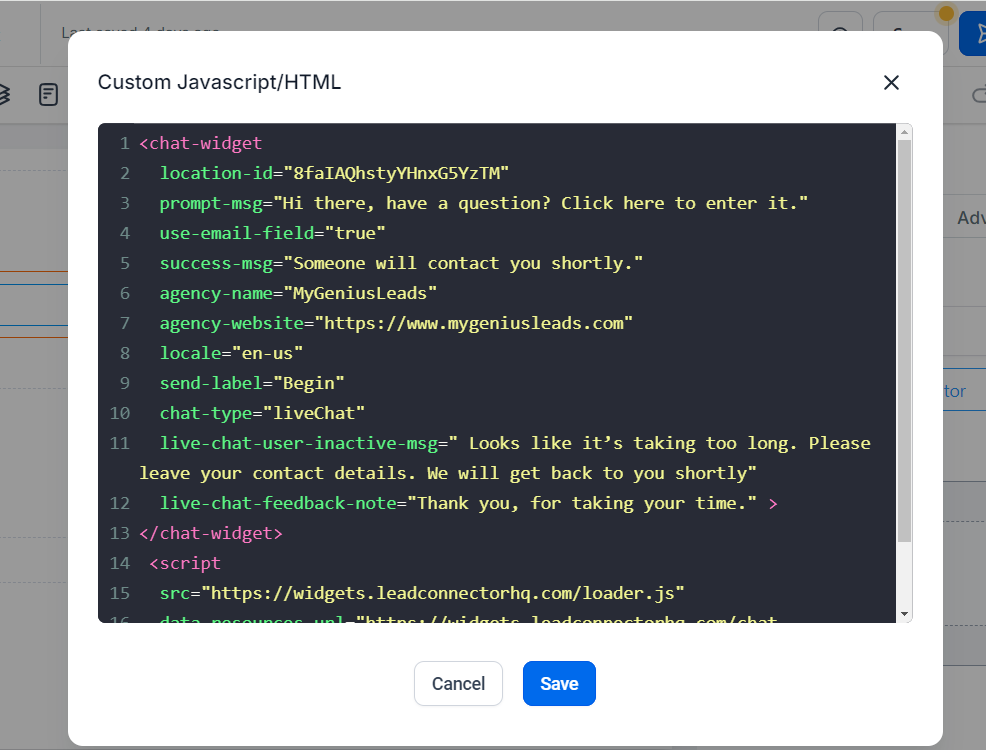
Which you then paste in the box that opens up and click Save.
Bonus: Copy the code to your WordPress site without a plugin.
With WordPress site, with recent version (I’m using 6.4.3), you can also do a very similar thing.
BTW, you can get your own FREE WordPress site on my course hosting platform at https://www.clickecourse.com/blog.
You can choose to install the WordPress plugin and follow the instructions for that, but if you choose to just install manually, this is how you do it.
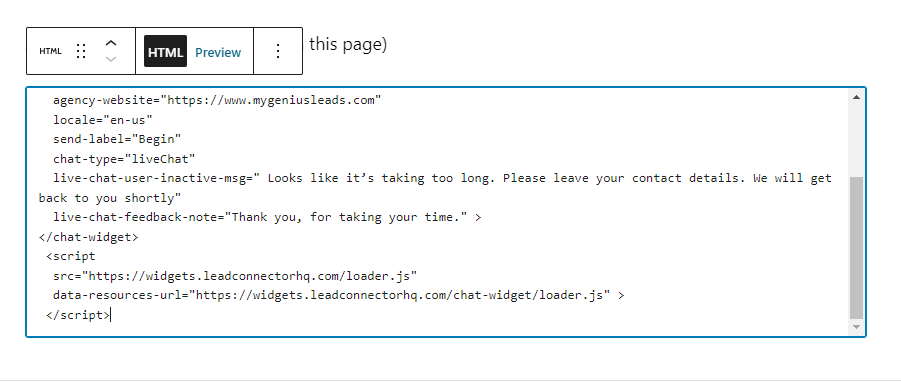
To add it to a single page or post, edit that page or post and click the + to add a new element and type html to find the Custom HTML block.

After adding it (BTW, doing that on this page), just paste the code.
That’s it – after saving your page, you’ll see the chat widget on the page like this:
Conclusion
As you can see, it’s relatively simple to add a AGI AI Chat Bot to your website, WordPress page or funnel page.
It’s true there are lots of little steps, but I hope this post has helped you get through it and get your AGI AI Chat Bot setup on your site.
Check out the video below to see all this in action and make sure to share this post with your friends too.